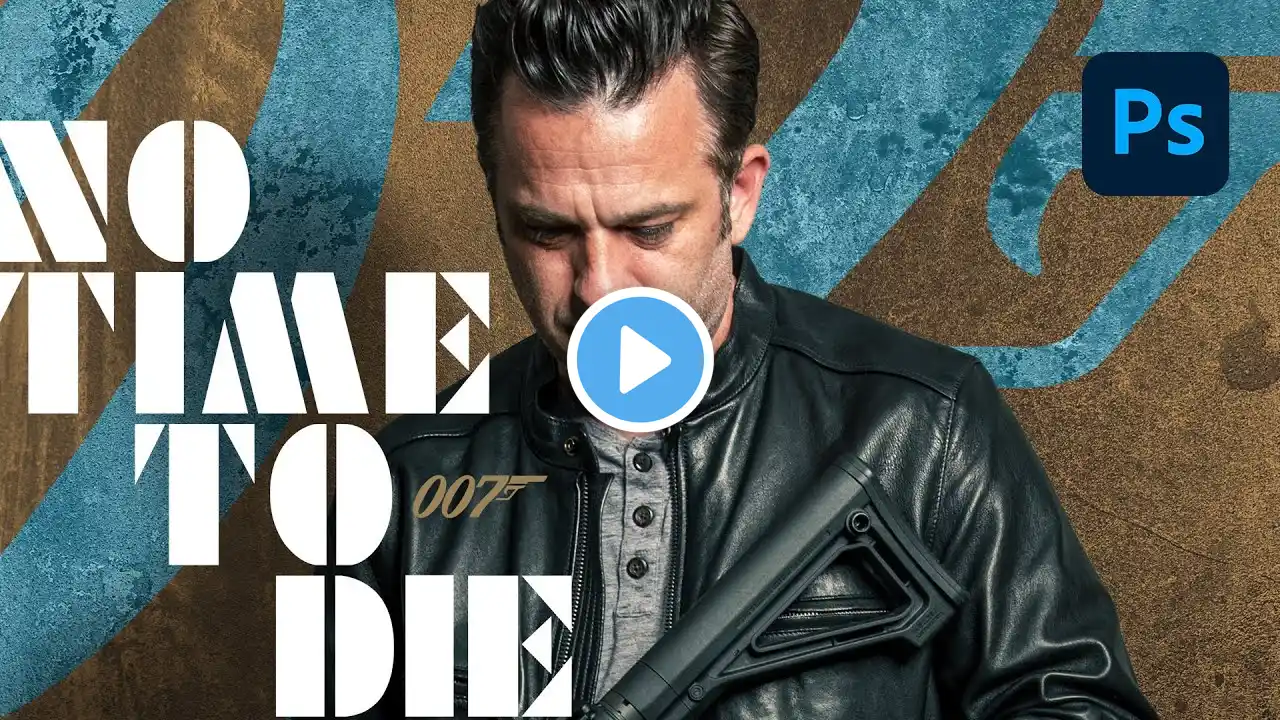
How to Create a Grunge Background in Photoshop
Download tutorial assets for FREE here: https://www.nucly.com/how-to-create-a... In this tutorial, I’ll show you how to recreate the 007 No Time to Die movie poster. In the course of this, we’ll cover all manner of compositing techniques, selection and masking, gradient maps, grunge, titling, color grading, and more. If you’re interested in my full set of grunge textures, you can get them here: https://www.nucly.com/grunge-textures... Download original poster here: http://www.impawards.com/2021/posters... Futura Black: https://fonts.google.com/specimen/Six... Google Font alternate: https://fonts.google.com/specimen/Sai... – 00:45 - 🥅Our goal for this tutorial. 01:42 - 🤓Setting up your Photoshop workspace 02:00 - 🧗♂️Adding a grunge texture. 02:34 - 📈Using a gradient in a layer mask. 03:06 - 🎨Adding color using gradient maps. 04:22 - 🔤Place embedded to bring in background text. 05:10 - 🎛Adding a texture to just one layer and fixing colors. 07:25 - ⎅ Adding guides to keep your image organized. 08:11 - 📷Bringing in a RAW file 08:40 - ✍️Cutting out a subject using the pen tool. 12:30 - Easy selections with the quick selection tool. 14:49 - Adding our cut out subject to the composite. 16:13 - Color grading with Curves to merge elements together. 17:00 - A neat trick for adding highlights. 19:00 - Adding a shadow to a subject. 20:25 - Adding the movie title and other text. 25:00 - Final thoughts — Don’t forget to SUBSCRIBE and turn on notifications! And likes and shares help a lot too! Check out my full professional Photoshop training courses here: https://www.nucly.com/courses And all my asset packs here: https://www.nucly.com/tools — Follow me: Professional Training - https://www.nucly.com Blog - https://zevendesign.com Facebook - / zevendesign Instagram - / zevendesign 500px - https://500px.com/rikardrodin