Easiest way How to setup your Raspberry Pi Without Monitor!!
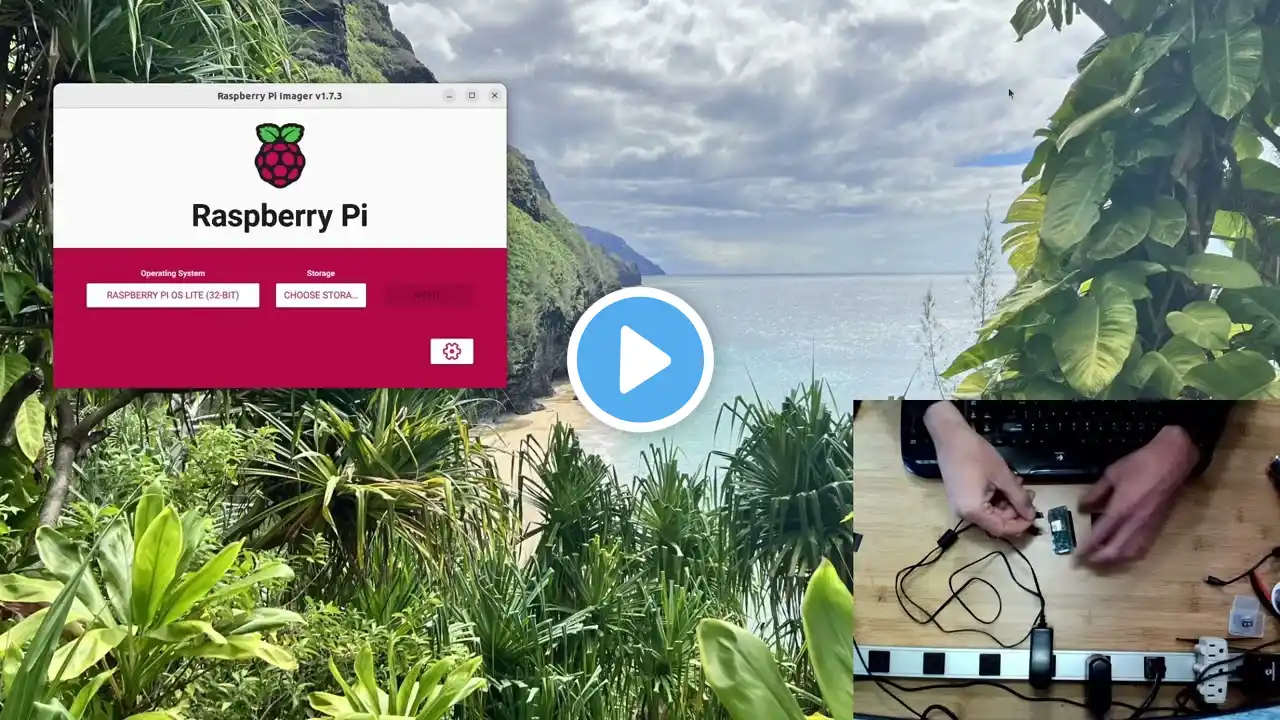
Connecting your Raspberry Pi without the Monitor. Easy Raspberry Pi Setup: Connect Without a Monitor in Minutes! In this step-by-step tutorial, we'll guide you on how to connect your Raspberry Pi without the need for a dedicated monitor. Whether you're a beginner or an experienced Raspberry Pi enthusiast, this video is perfect for you. Discover the simple techniques and tools required to set up your Raspberry Pi using alternative methods, such as Putty, VNC, and Angry IP Scanner. Save time and effort by learning how to access and control your Raspberry Pi remotely, opening up a world of possibilities for your projects. Join us and unlock the full potential of your Raspberry Pi today! Angry IP Scanner: https://angryip.org/ Subscribe: / @geekelectronicsfab Introduction: In this tutorial, we will explore the process of connecting a Raspberry Pi to your computer without the need for a dedicated monitor. By utilizing tools like VNC, PuTTY, Raspberry Pi Imager, and Angry IP Scanner, you can easily establish a connection and interact with your Raspberry Pi remotely. Whether you're a beginner or an experienced Raspberry Pi enthusiast, this guide will walk you through the steps needed to set up and connect your Raspberry Pi without a monitor. Step 1: Setting up the Raspberry Pi: Before we dive into the connection process, let's start by preparing the Raspberry Pi for remote access. Follow these steps: 1. Obtain the necessary hardware: Raspberry Pi board, power supply, SD card, and an Ethernet cable (optional, Wi-Fi can be used as well). 2. Download the latest version of Raspberry Pi Imager from the official Raspberry Pi website. 3. Insert the SD card into your computer and launch Raspberry Pi Imager. 4. Select the appropriate operating system (such as Raspbian or Ubuntu) and click on the "Write" button to flash the image onto the SD card. 5. Once the image is written, safely eject the SD card from your computer. Step 2: Finding the IP address of the Raspberry Pi: To connect to your Raspberry Pi remotely, you need to know its IP address. Follow these steps to find it using Angry IP Scanner: 1. Download and install Angry IP Scanner on your computer. 2. Launch the application and go to the "IP Range" section. 3. Enter the IP range that corresponds to your local network (e.g., 192.168.1.1-192.168.1.255) and click on the "Start" button. 4. Wait for the scan to complete. The IP address of your Raspberry Pi should appear in the list of devices. Step 3: Establishing a VNC Connection: VNC (Virtual Network Computing) allows you to access and control the Raspberry Pi's graphical desktop remotely. Here's how you can set up a VNC connection: 1. Ensure that both your computer and Raspberry Pi are connected to the same local network. 2. Download and install VNC Viewer on your computer. 3. Launch VNC Viewer and enter the IP address of your Raspberry Pi. 4. Click on the "Connect" button to establish the VNC connection. 5. You may be prompted to enter your Raspberry Pi's username and password. Provide the correct credentials to proceed. 6. Voila! You should now have a remote desktop connection to your Raspberry Pi. Step 4: Accessing the Raspberry Pi through PuTTY (Optional): If you prefer a command-line interface, you can use PuTTY to connect to your Raspberry Pi remotely. Follow these steps: 1. Download and install PuTTY on your computer. 2. Launch PuTTY and enter the IP address of your Raspberry Pi. 3. Select the "SSH" connection type and click on the "Open" button. 4. A terminal window will open, prompting you to enter your Raspberry Pi's username and password. 5. Once authenticated, you can start executing commands and controlling your Raspberry Pi via the command line. Conclusion: By following this guide, you have learned how to connect your Raspberry Pi to your computer without the need for a monitor. Through the use of VNC, PuTTY, Raspberry Pi Imager, and Angry IP Scanner, you can establish remote access to your Raspberry Pi and interact with its graphical desktop or command line interface. This method provides flexibility and convenience, allowing you to work with your Raspberry Pi from anywhere on your local network. Enjoy exploring the possibilities of this versatile single-board computer! #raspberrypi4 #raspberrypi #coding #programming #python #youtube #india #unitedstates #unitedkingdom #shorts #viralvideo #youtubeshorts #code #google #coding #programming #arduino #shorts #youtubers #youtubeshorts #electronics #python #instagram#viral #trending #youtubeshorts #brazilianphonkmano #youtube#ytshorts #yt #tech#viralshorts #beginners #love#coding #programming #arduino #shorts #youtubers #youtubeshorts #electronics #python #instagram#viral #trending #youtubeshorts #brazilianphonkmano #youtube#ytshorts #yt #tech#viralshorts #beginners #love#raspberrypi #raspberrypi4 # #raspberrypi4 #raspberrypi #coding #programming