How to Plant a Bulb Lasagna
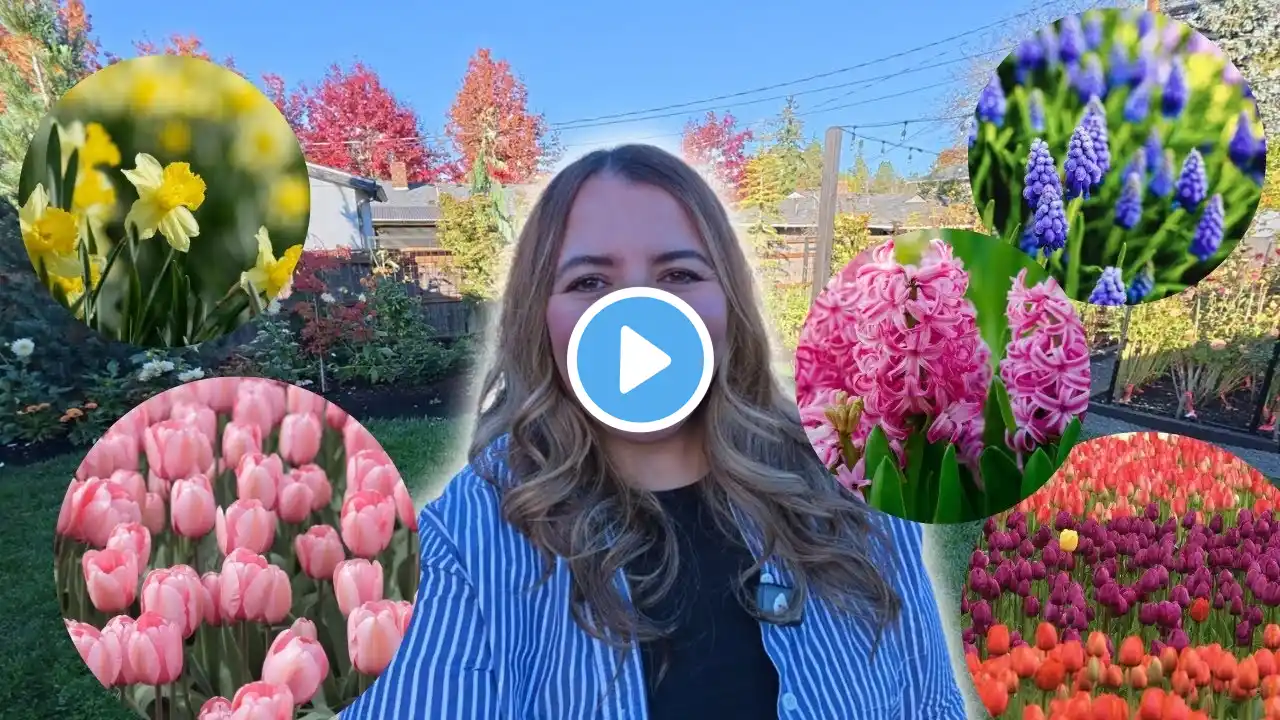
Create a stunning transitional bulb display by planting a spring bulb lasagna in a pot! This technique involves layering bulbs in a container just like a layered lasagna. The latest flowering bulbs are planted at the bottom of the pot with mid-season and early season bulbs layered on top of each other. The emergent shoots of the bottom bulbs will bend around the bulbs above resulting in a lush display of spring blooms that lasts for weeks! Step 1: Choose the Right Pot Choose a pot that complements the aesthetic of your home and garden. A deep, wide pot will give you ample space to create a stunning layered display. Ensure that the pot has at least one drainage hole to avoid waterlogged soil which can cause the bulbs to rot. Step 2: Select the Bulbs Choose a variety of spring blooming bulbs that will complement each other in terms of color, height, and flowering time. Popular choices for bulb lasagnas include tulips, daffodils, hyacinths, crocuses, and muscari. You can plant an all-white lasagna by using 'Mondial' tulips, 'Pueblo' daffodils, and 'Siberian Tiger' muscari. Or plant a colorful lasagna with 'Negrita Double' tulips, 'Avalache' daffodils, and mixed crocuses. Step 3: Layer the Bulbs Start by adding high quality potting soil to the container until you are 10 inches from the top of the pot. Place the largest and latest flowering bulbs such as tulips or alliums in this first layer. Space them much closer together than you would in the garden leaving approximately 1 to 1 ½ inches between each bulb. Cover the first layer of bulbs with an inch or two of potting soil. Next, add a layer of mid-season bulbs such as daffodils. Again, space them close together with only an inch between each bulb. Cover this layer with another inch of potting soil. Lastly, finish with the smallest, earliest blooming bulbs such as crocus or muscari and cover the bulbs with 4 inches of soil. Step 4: Watering and Placement Water upon planting to settle the soil. Then place the pot in a location which receives adequate sunlight for the specific bulbs you've chosen. In my zone 6b garden the pots can be left outdoors all winter with no protection or further care. However, in colder climates that experience deep, extended freezes the pots should be put into cold frames, sheds, or unheated garages. The bulbs should not be allowed to freeze. As spring approaches check the bulbs for sprouts. When you see green shoots, bring the pots out into the garden to grow and bloom.