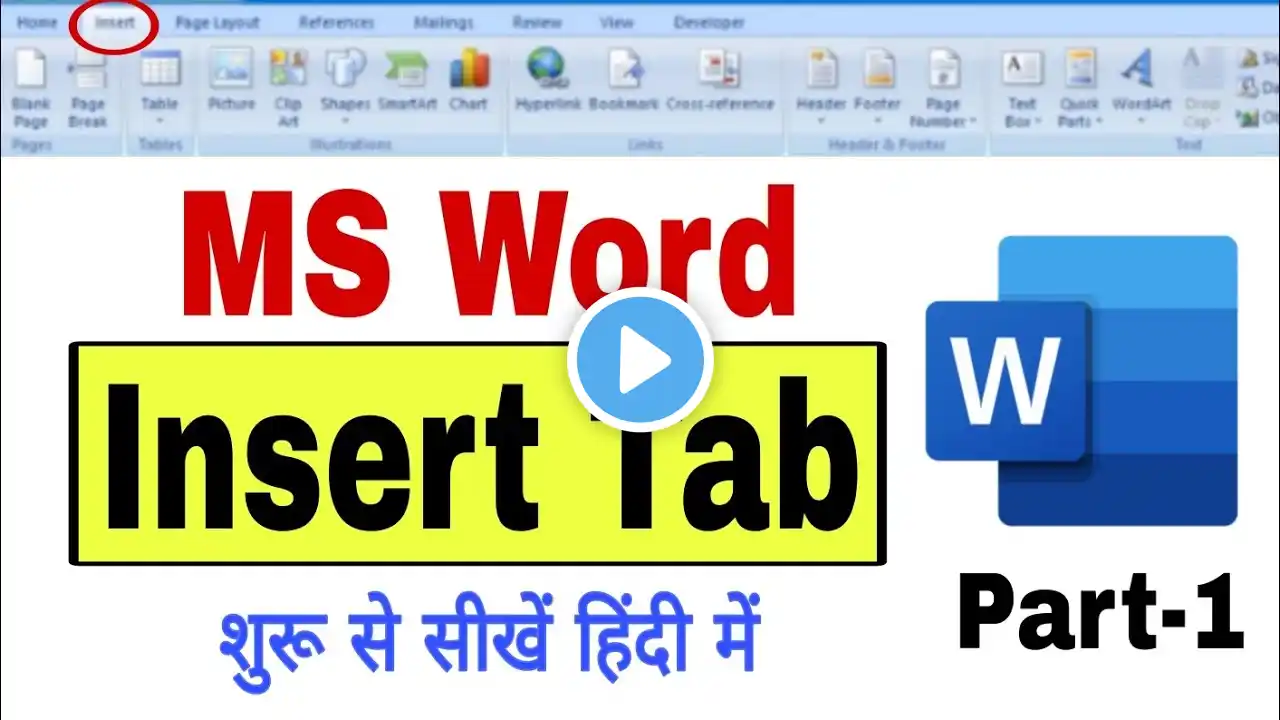
MS Word: Insert Tab Overview - Insert Picture
MS Word: Insert Tab Overview - Insert Picture In this tutorial, we’ll explore the Insert Picture feature in MS Word. This function allows you to enhance your documents by adding images from various sources, making your work more visually appealing and professional. Steps to Insert a Picture in MS Word: Open the Insert Tab: Locate the Insert Tab on the Ribbon at the top of the Word interface. Click on "Pictures": Under the Insert Tab, click on the Pictures button in the Illustrations group. Select a Picture Source: This Device: Choose an image saved on your computer. Stock Images: Access a library of preloaded pictures. Online Pictures: Search for images online directly within Word. Insert and Adjust: Once you select an image, it will appear in your document. You can resize, rotate, and position it as needed. Pro Tips for Using Pictures: Use Wrap Text options to adjust how the text flows around your image. Apply Picture Styles to enhance your image's appearance. Use the Remove Background tool for a cleaner look.