🔧💻 How to Set a Static IP Address for a Hyper-V Virtual Machine on Windows 🚀 | Step-by-Step Guide
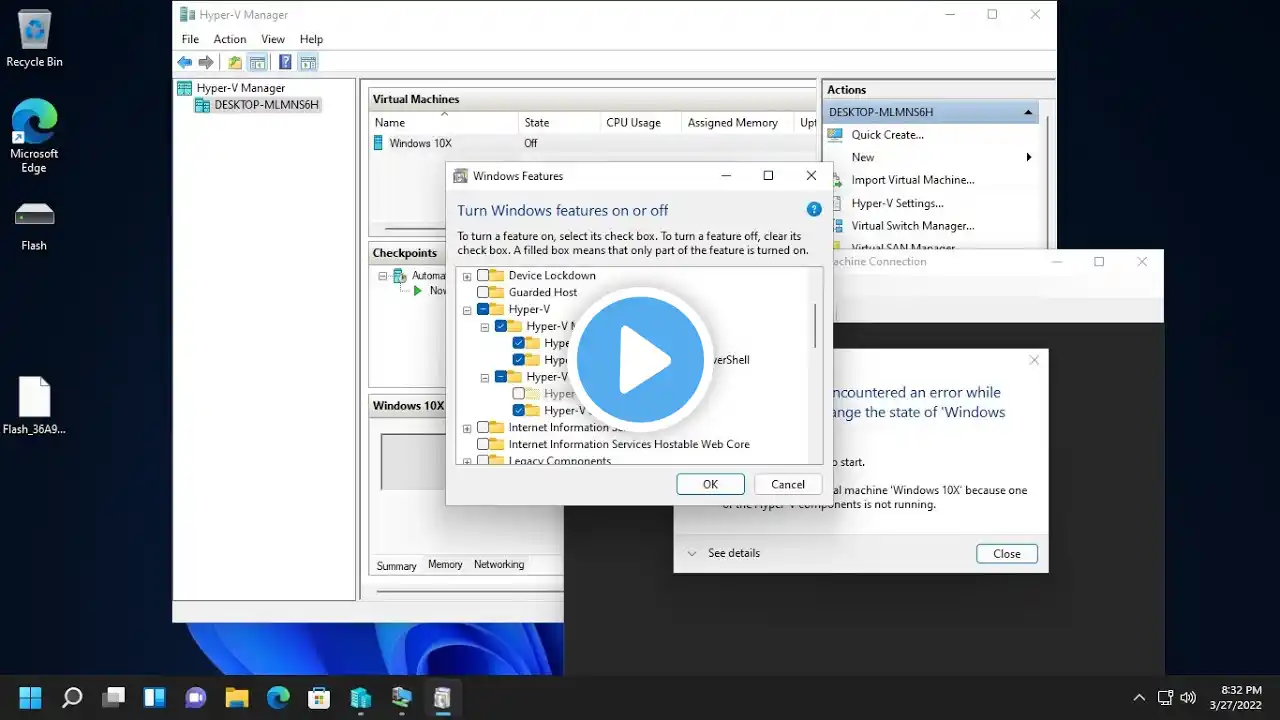
Steps to Set a Static IP Address for Your Virtual Machine in Hyper-V Manager on Windows in Less Than 2 Minutes: 1. Open Hyper-V Manager: Type 'Hyper-V Manager' into the Windows search bar. Select it from the search results. 2. Select and Start the Virtual Machine: Choose the virtual machine you want to configure. Click 'Connect.' Click the 'Start' button on your virtual machine. Close the connection window by clicking the cross above; the VM will continue running in the background. 3. Check the IP Address: Click the networking panel below to check the IP address of the machine. 4. Turn Off the Virtual Machine: Right-click on the selected virtual machine. Choose 'Turn Off.' 5. Configure Network Adapter Settings: Right-click on the selected virtual machine again. Choose 'Settings.' Navigate to 'Network Adapter' under the 'Hardware' section. Click on 'Advanced Features.' Check the 'Enable MAC address spoofing' box. Manually enter a MAC address or use the provided one. 6. Complete: You’ve successfully set a static IP address for your virtual machine in Hyper-V Manager on Windows. If you found this tutorial helpful, please give us a 👍 thumbs up, and don't forget to subscribe to our channel for more tech tutorials! 🔔✨ Thanks for watching, and see you next time! 🎉😊 #tech #technology #windows #linux #static #learning #simple