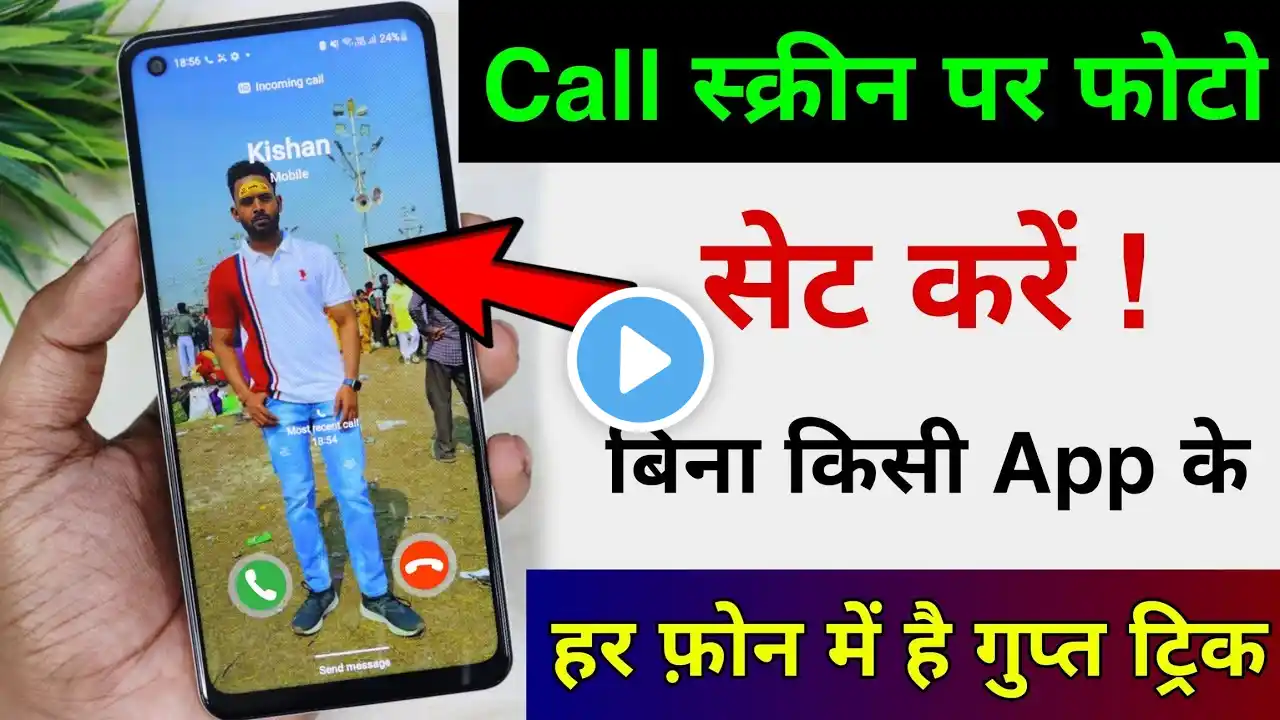
How to Enable Full Screen Photo Caller Id For Incoming Calls on Android
How to Enable Full Screen Photo Caller Id For Incoming Calls on Android @LoginHelps In this video, you'll learn how to enable full-screen photo caller ID for incoming calls on your Android device. Personalizing your incoming call experience can make it more enjoyable and help you quickly identify who's calling. Follow along as we walk you through the simple steps to set up a full-screen photo for your contacts. If you find this tutorial helpful, don't forget to like, subscribe, and hit the notification bell for more tips on optimizing your Android experience! Hashtags: #Android #CallerID #FullScreenCallerID #TechTips #SmartphoneCustomization #AndroidTutorial #IncomingCalls #ContactPhotos Video Tags: enable full screen caller ID, full screen caller ID Android, customize caller ID Android, Android incoming calls, contact photo caller ID, caller ID settings, Android customization, how to change caller ID, full screen photo caller ID, Android contacts tutorial, personalize caller ID, set contact photo Android, full screen incoming call, Android phone settings, edit contact photo Android Chapters: 00:00:00 - Introduction Learn how to enable full screen photo caller ID for incoming calls on Android. 00:00:10 - Launch Contacts App Open the Contacts app on your Android device to start. 00:00:20 - Select Contact Scroll or search for the contact you want to customize. 00:00:35 - Open Contact Details Tap on the contact to view their details. 00:00:50 - Edit Contact Press the edit icon to modify the contact settings. 00:01:00 - Add Picture Tap "Add Picture" to choose a photo for the caller ID. 00:01:10 - Save Changes Select the picture and save it as the full screen photo caller ID. 00:01:20 - Conclusion You've successfully enabled full screen caller ID for incoming calls on Android! Like and subscribe for more helpful videos!


