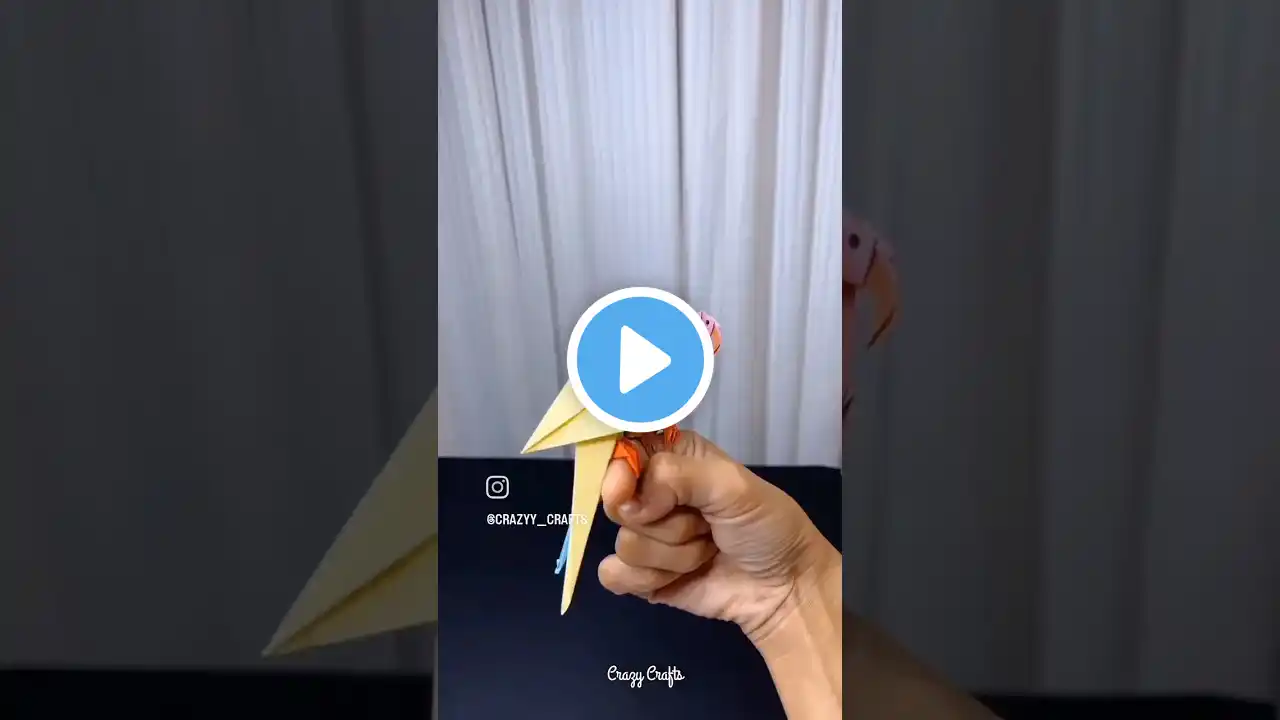
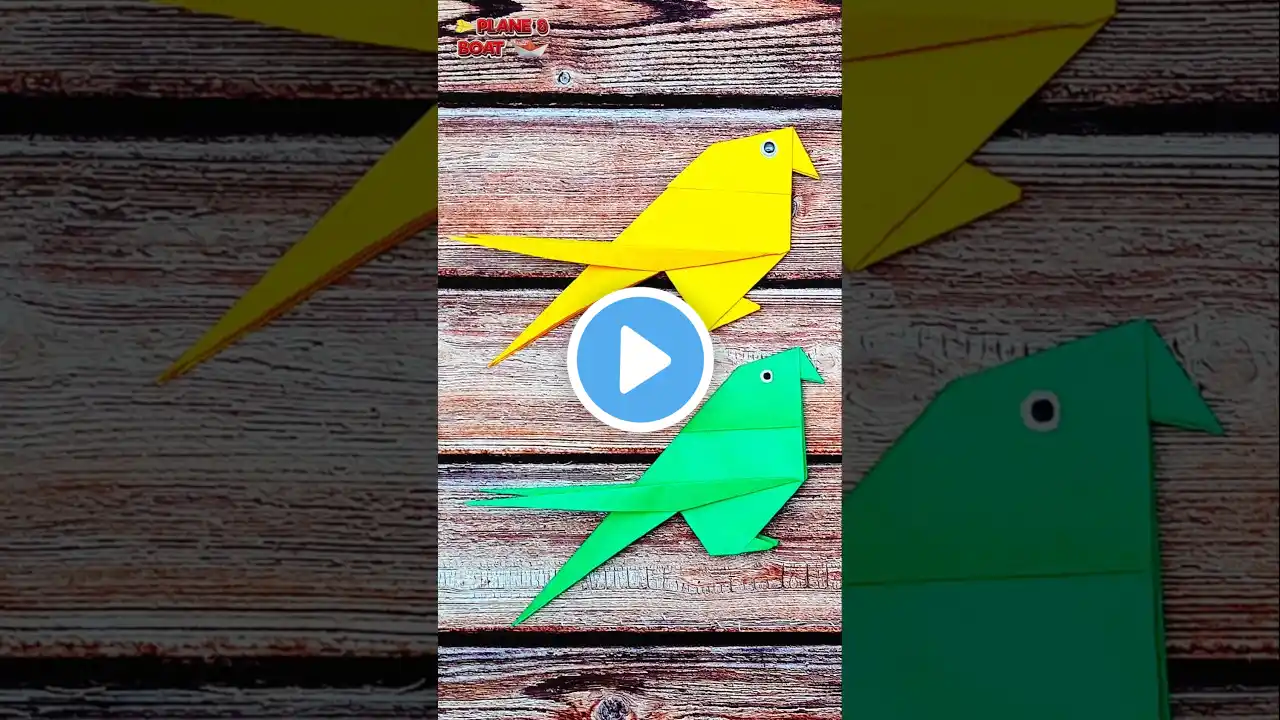
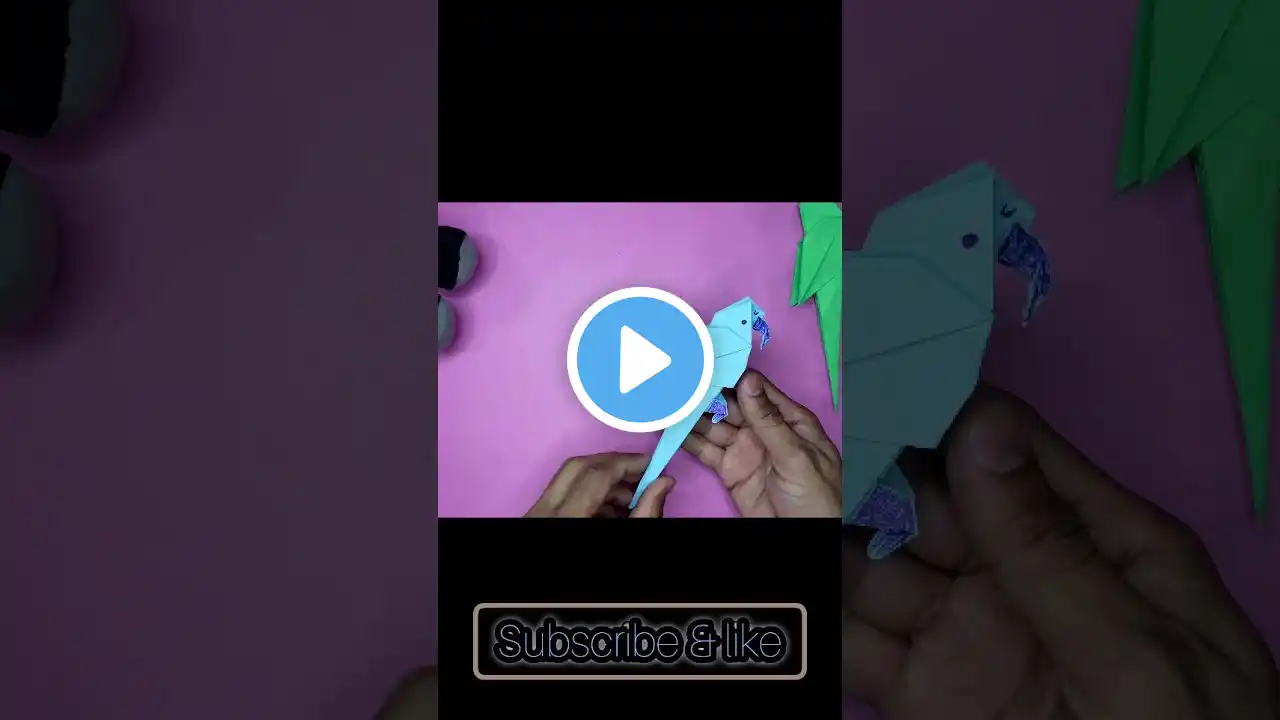
How To Make Paper Parrot / Origami Paper Parrot | How to make paper bird | Paper Craft / paper bird
Making a paper parrot is a fun and creative project! Here’s a simple step-by-step guide for you to follow: Materials Needed: Colored paper (green, yellow, red, blue, or any colors you prefer) Scissors Glue stick or tape Pencil Instructions: Prepare the Parrot's Body: Take a sheet of green paper for the body of the parrot. Cut a long oval or egg-shaped piece to form the body. Make the Tail Feathers: Use a piece of green or another bright color (like red or yellow) for the tail. Cut long, narrow strips of paper for the tail feathers. You can use different colors for each feather to make it colorful. Attach the tail feathers to the back of the oval body using glue or tape. Create the Head: Cut a smaller oval shape from the green paper for the head. Attach the head to the top of the body. Shape the Beak: Take a small piece of yellow or orange paper. Cut a small triangle shape for the parrot’s beak and glue it to the front of the head. Add the Eyes: Cut two small circles from white paper for the eyes. Add a black dot in the center of each circle for pupils. Glue the eyes onto the head. Make the Wings: Cut two wing shapes out of paper (either green for a simple look or multi-colored for more vibrancy). Attach the wings to either side of the body. Final Touches: Add any additional details you like, such as little feather details or decorative patterns on the body or wings. Once everything is glued, let it dry for a few minutes. Now you’ve got your own paper parrot! You can even hang it up as decoration or make more in different colors to create a whole flock.