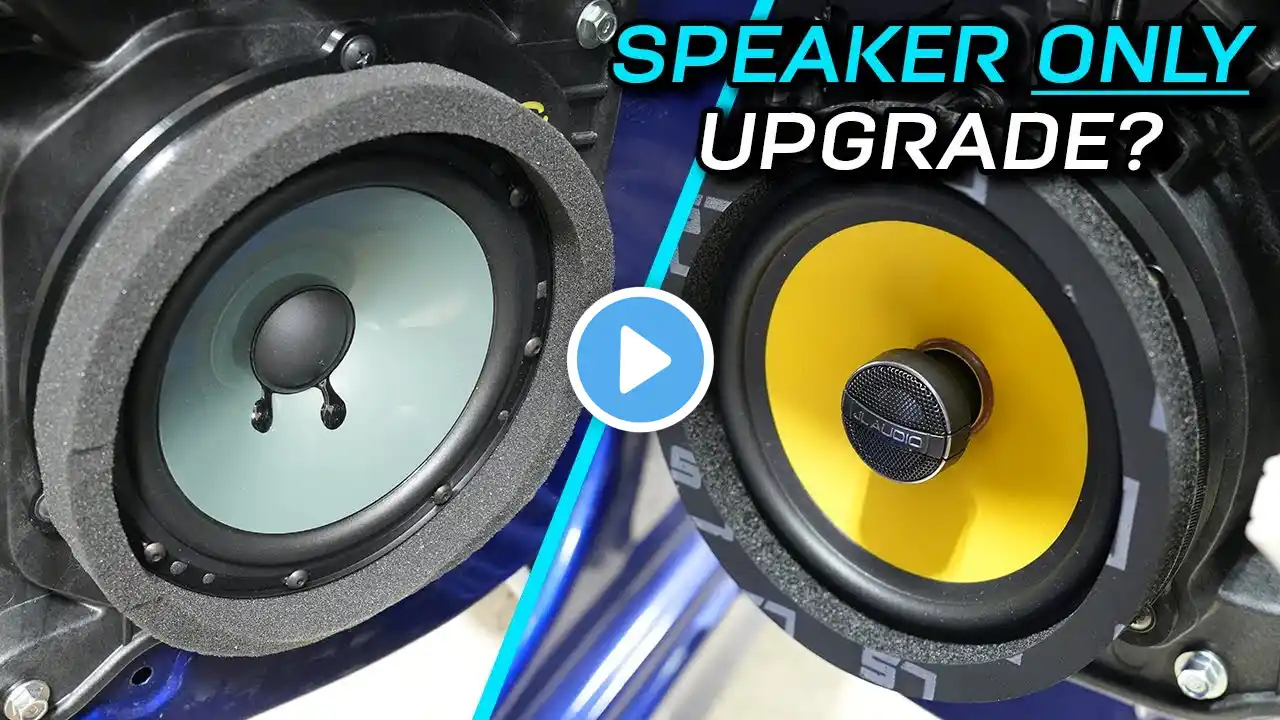
How to Replace Speakers for a Nissan Altima
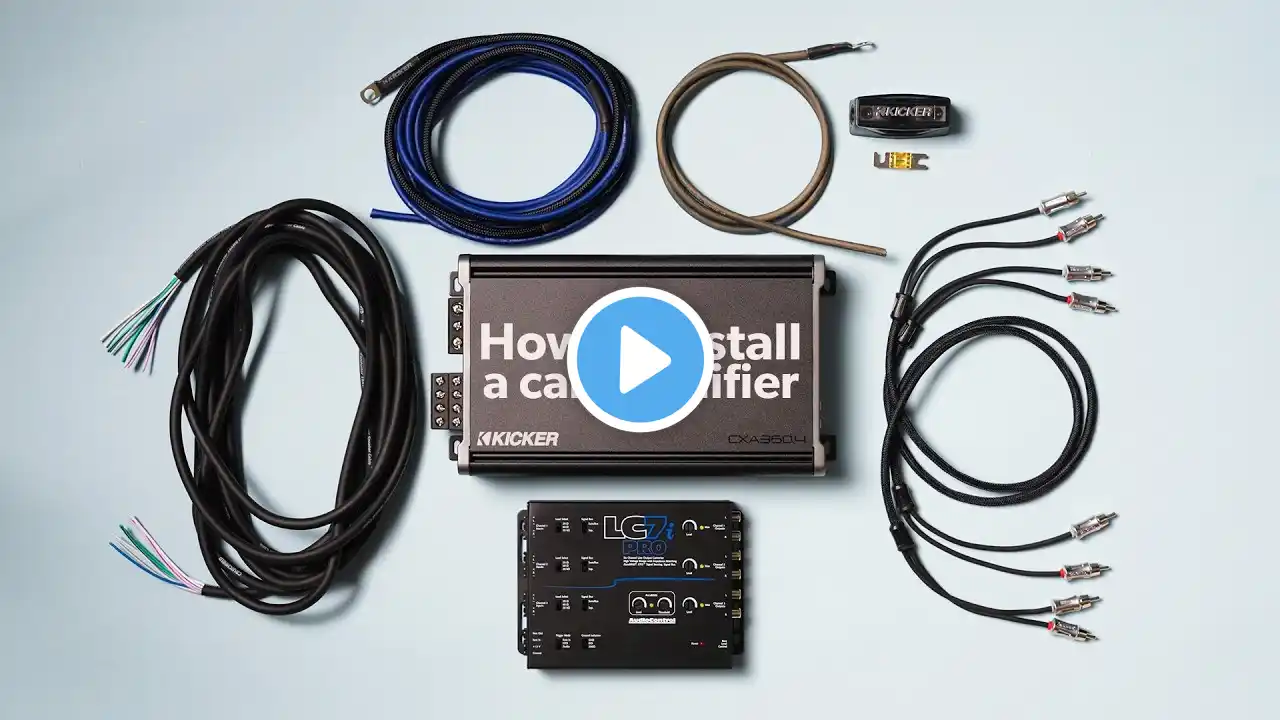
We are going over the steps to swap out the factory door and rear speakers for a 2015 Nissan Altima S. Rear Speaker Notification: The bolt pattern of your new speaker will not line up with the factory screw holes. 1. Intro - 0:01 2. Step 1 (Remove Door Handle Escutcheon) - 0:08 3. Step 2 (Remove Door Handle Bolt) - 0:22 4. Step 3 (Remove Door Pull Handle Outer Finisher) - 0:32 5. Step 4 (Remove Power Window/Unlock Switch) - 0:53 6. Step 5 (Remove Armrest Cover Bolt) - 1:19 7. Step 6 (Remove Door Pull Handle Bolt) - 1:29 8. Step 7 (Release Door Finisher Clips) - 1:44 9. Step 8 (Disconnect Door Lock/Unlock Harness) - 2:30 10. Step 9 (Remove Door Handle Screws) - 2:55 11. Step 10 (Disconnect Step Lamp) - 3:20 12. Step 11 (Remove Front Speaker) - 3:33 13. Step 12 (Trim Speaker Screws) - 4:15 14. Step 13 (Install Front Speaker) - 5:02 15. Step 14 (Connect Step Lamp) - 5:46 16. Step 15 (Install Door Handle Screws) - 5:57 17. Step 16 (Connect Door Lock/Unlock Harness) - 6:07 18. Step 17 (Attach Door Finisher) - 6:19 19. Step 18 (Install Armrest Cover Bolt) - 6:32 20. Step 19 (Install Door Pull Handle Bolt) - 6:42 21. Step 20 (Install Door Handle Bolt) - 6:48 22. Step 21 (Install Power Window/Unlock Switch) - 6:55 23. Step 22 (Install Door Pull Handle Outer Finisher) - 7:11 24. Step 23 (Install Door Handle Escutcheon) - 7:25 25. Step 24 (Remove High-Mounted Stop Lamp) - 7:32 26. Step 25 (Remove Rear Seat Cushion) - 7:57 27. Step 26 (Remove Rear Seat Bolsters) - 8:25 28. Step 27 (Remove Seatback Lock Finisher) - 9:22 29. Step 28 (Remove Rear Pillar Finishers) - 10:07 30. Step 29 (Remove Rear Parcel Shelf Finisher) - 10:58 31. Step 30 (Remove Rear Speakers) - 11:19 32. Step 31 (Modify Speaker Bolt Position) - 12:06 33. Step 32 (Install Rear Speakers) - 13:32 34. Step 33 (Install Rear Parcel Shelf Finisher) - 14:32 35. Step 34 (Install Rear Pillar Finishers) - 15:08 36. Step 35 (Install Seatback Lock Finisher) - 15:51 37. Step 36 (Install Rear Seat Bolsters) - 16:12 38. Step 37 (Torque Rear Seat Bolsters) - 16:54 39. Step 38 (Install Rear Seat Cushion) - 17:06 40. Step 39 (Install High-Mounted Stop Lamp) - 17:22 41. Sound Test - 17:40 Products Used: Metra 82-7400 Speaker Adapter - https://amzn.to/3oIhTZt 6x9 Rear Deck Speaker Adapter - https://amzn.to/4klZgCz Pyle 6.5" Speakers - https://amzn.to/45uXSGq Pyle 6x9" Speakers - https://amzn.to/3WDEGlZ Speaker Wiring Harness - https://amzn.to/3JaEIfJ Threadlocker Blue - https://amzn.to/3xzPwkk Touch Screen Car Radio - https://amzn.to/3N3ukbK Trim Removal Tool Set - https://amzn.to/3qdxQY5 Tools: 1/4" Socket Wrench 3/8" Socket Wrench 3/8" Torque Wrench (18 ft-lb) 10mm Socket 13mm Socket Diagonal Cutters Linesman Pliers Needle Nose Pliers Paint Marker Pen Phillips Screwdriver Pocket Screwdriver Semi-Permanent Threadlock Trim Removal Tool Set Disclaimer: Content produced from Mcgurr Entertainment is for entertainment purposes only. This information is not endorsed by any agency/company (such as Ford) and is intended as an entertainment. Mcgurr Entertainment assumes no liability for property damage or injury incurred as a result of any of the information contained in this video. All content on YouTube is provided in good faith, however we make no representation or warranty of any kind, express or implied, regarding the accuracy, adequacy, validity, reliability, availability or completeness of any information on YouTube. Use this information at your own risk. #Altima #Speakers