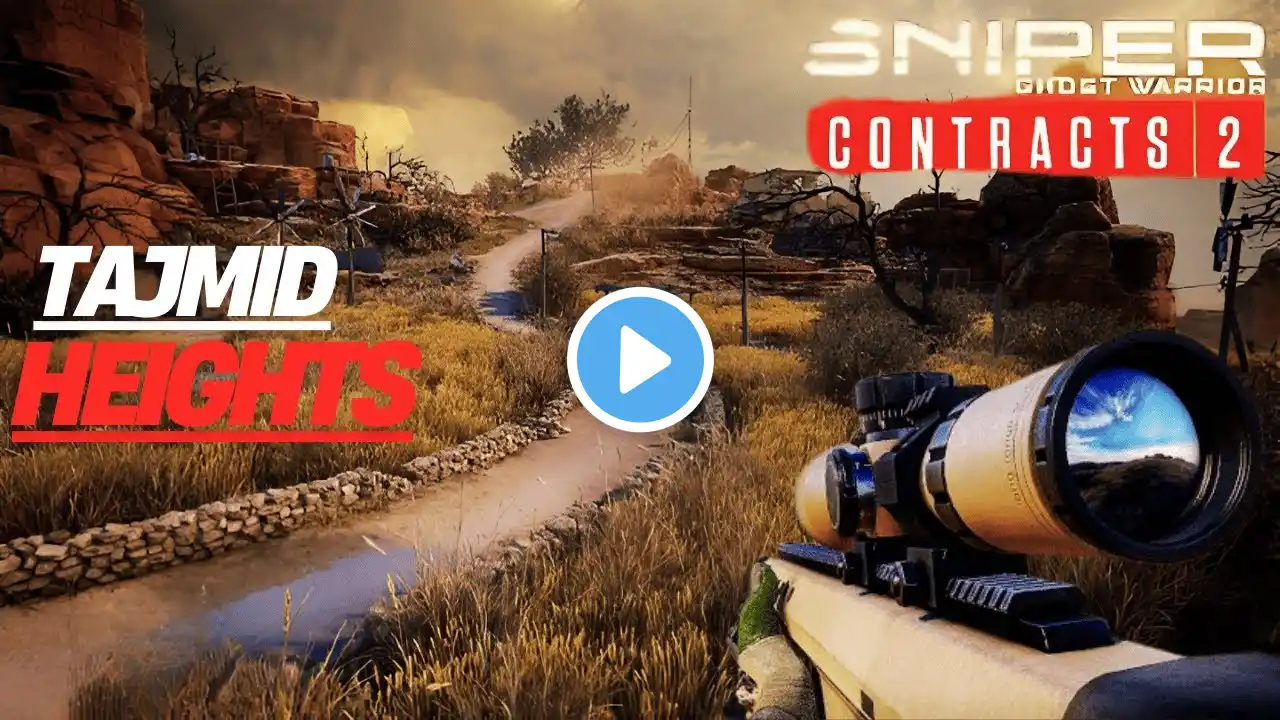
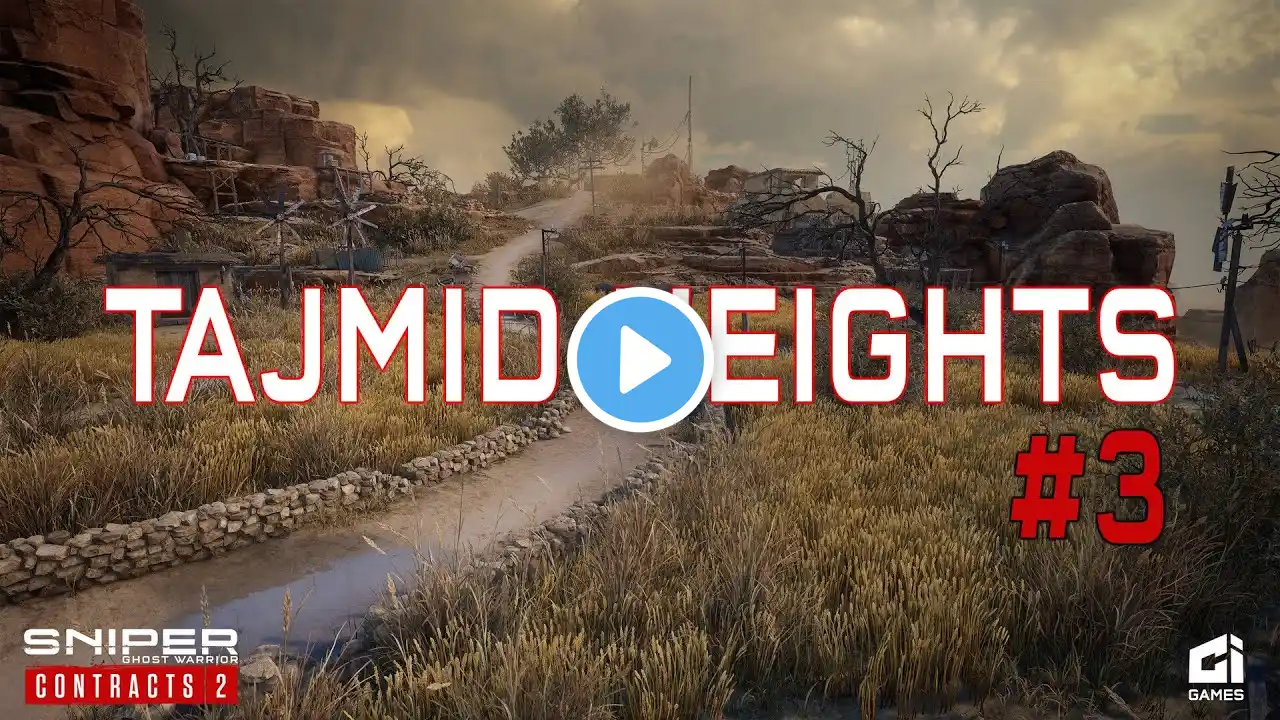
Sniper Ghost Warrior Contracts 2 Mission 3 TAJMID HEIGHTS Full Gameplay Walkthrough||
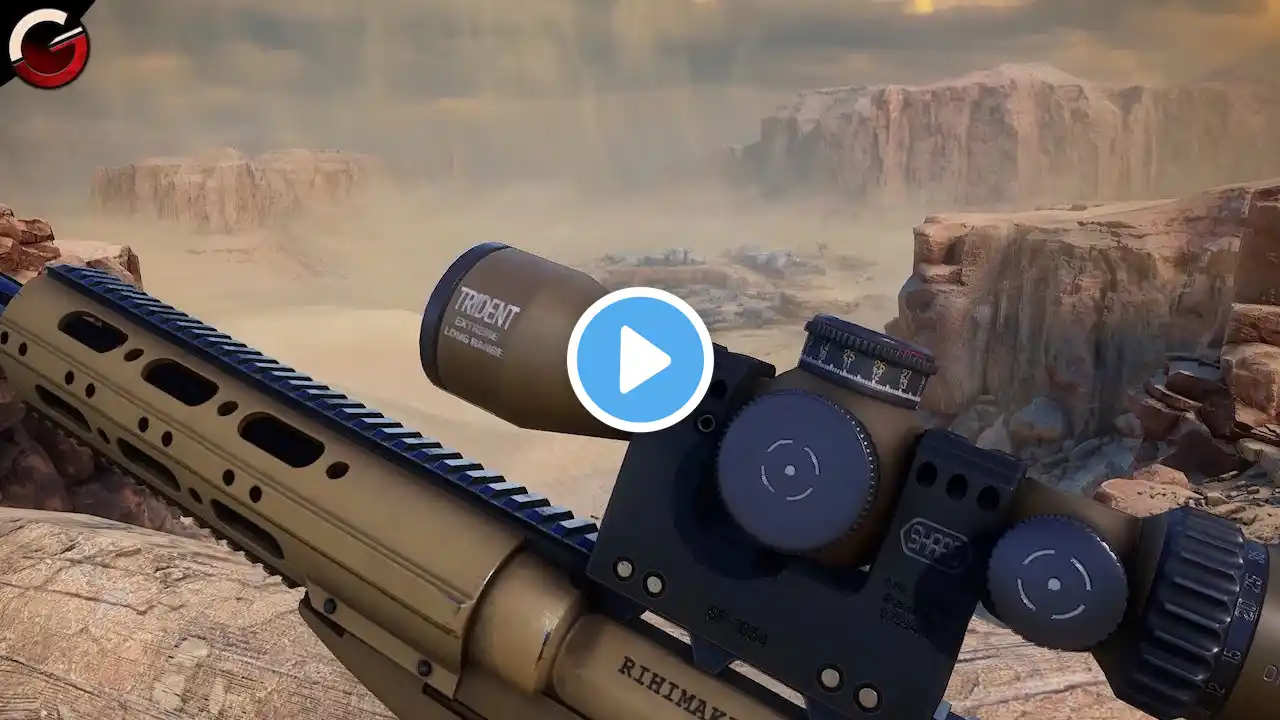
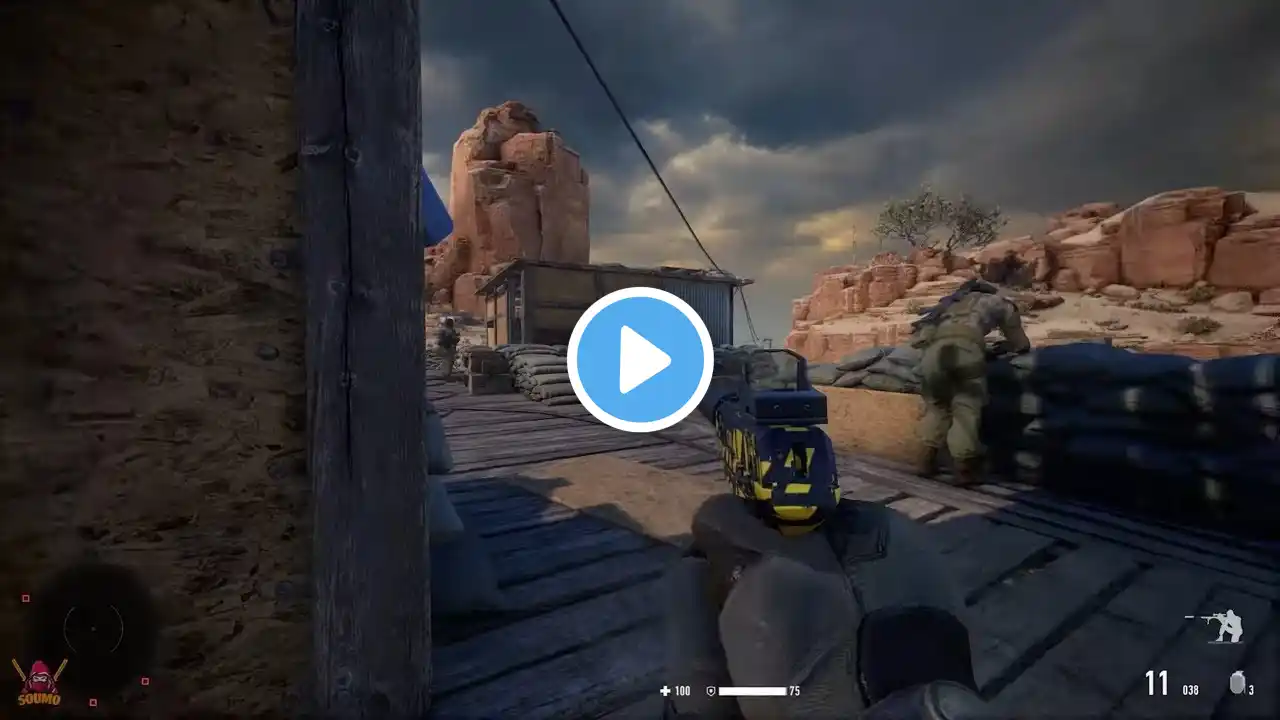
Sniper Ghost Warrior Contracts 2 Mission 3 TAJMID HEIGHTS Full Gameplay Walkthrough|| Objectives : Save Taj Tahir Eliminate Isabella Sanchez Eliminate Hamza Khan Eliminate Zhivko Dragovic Disable the oil fields Follow the only path through the stone arch and turn right. There will be a comfortable sniper position here. I recommend shooting enemies from here. Moreover, an armored soldier is easiest to destroy due to two explosive barrels, past which he passes. After that, slide down on the cable and search the fortified points on the left. Under one of them, on the table is a collectible - Isabella's notebook. Move to the right, clear another outpost with a turret and enter the cave. Jump down to the left and under the ledge, among the rocks for the collectible "Dwarf named Nim Tanak". Get to the firing line. Again, there is nothing to do here with a light rifle from the last mission. If you forgot to change, you will have to go to the main menu, select the "Regions" section and start all over again, having prepared the right equipment. So, first use your binoculars to mark all the enemies. One sniper is at the turrets on the right, the other is on the roof of a lonely building on the left. I recommend eliminating them immediately. Hostage Tahir is in the far building on the left, and Sanchez is in the building on the right. She will go inside immediately. Shoot the officer at the entrance. Soon Sanchez will come out to examine his corpse. This is the perfect moment to shoot. And if you raise the alarm, the perfect moment would be while Sanchez stands in front of the entrance to Tahir's detention cell. When you kill Sanchez, if you have not raised the alarm, deal with the enemy near the entrance to the house where Tahir is. Then accompany him. In the first case, to separate two enemies, shoot at the electric shield. In the second case, when two enemies leave the building, shoot so as to hit both. In the third case, you can divide the enemies with the help of falling yellow barrels. Shoot them. Further, the enemies will leave the building, and again, it is most convenient to shoot at them at once in order to shoot both of them with one bullet. Next, you will need to kill two enemies next to the armored personnel carrier, and also get into the shield behind it to disable the turrets. This is the last task, and after it Tahir will be saved. Turn around and go right. There will be an evacuation point. After saving, clear one more location before entering the cave. On the right on the table is Hamzu Khan's notebook. Move through the cave and kill the two enemies outside. Before you will be a kind of farm. Do not rush to climb, but take the path to the right and even more to the right. There are no mines here, and near the fallen weather vane lies the Praying Baker collectible . Go back, along the main path, go up a little higher and turn to the building on the right. There is an enemy on the second floor, and on a shelf in the corner lies collectible- a case with "Classic Desert" camouflage. Get to the firing point, study the territory and eliminate two targets. This is quite easy to do, even if the alarm has been raised. One of the tests involves the elimination of both opponents during the escape. That is, shoot any explosive barrels by raising the alarm. Next, kill the enemy inside the building on the left, and then pick up the moment and shoot at the red barrels, past which the second target will run. Get to the evacuation point, save and follow the marker. After the bridge, turn left, walk past the building and jump through the hole into the cave, where the collectible item - the case with the "Dark Desert" camouflage , lies . In one of the destroyed buildings on the right, there is a collectible "The City Where There Is Nothing". You need to destroy several shields, barrels or pump control generators. In this case, it is absolutely not necessary to destroy all these objects. The main thing is that the target is refreshed, and you are asked to go to the evacuation point. But if the alarm is raised, keep in mind that an enemy group will appear behind you. So you have to leave the position to deal with enemies, including a sniper and an armored soldier. Links of my previous Contracts 2 Uploads • Sniper Ghost Warrior Contracts 2 Kill... • Sniper Ghost Warrior Contracts 2 Kill... • Sniper Ghost Warrior Contracts 2 Kill... List of my fav pc components: Mouse: https://amzn.to/3cM8uqP Keyboard: https://amzn.to/3vx3rBb Keyboard(10keyless): https://amzn.to/3cSGaD3 Headset: https://amzn.to/3cSGfXn Mousepad: https://amzn.to/2SHBfhv Motherboard: https://amzn.to/35C1oBf Power Supply: https://amzn.to/2Ug6YH3 Processor: https://amzn.to/3gAL1Lu Ram: https://amzn.to/3xt5Pu0 Ssd: https://amzn.to/3vHaIOB Hdd: https://amzn.to/2SdFjG8 Cpu Cooler: https://amzn.to/3wDNf2l Cabinet: https://amzn.to/3gH2BfN Monitor: https://amzn.to/2U5ed4n Plz like and share this video and subscribe to my channel. #sniperghostwarrior #sniperghostwarrior2 #ghostwarriorcontract2