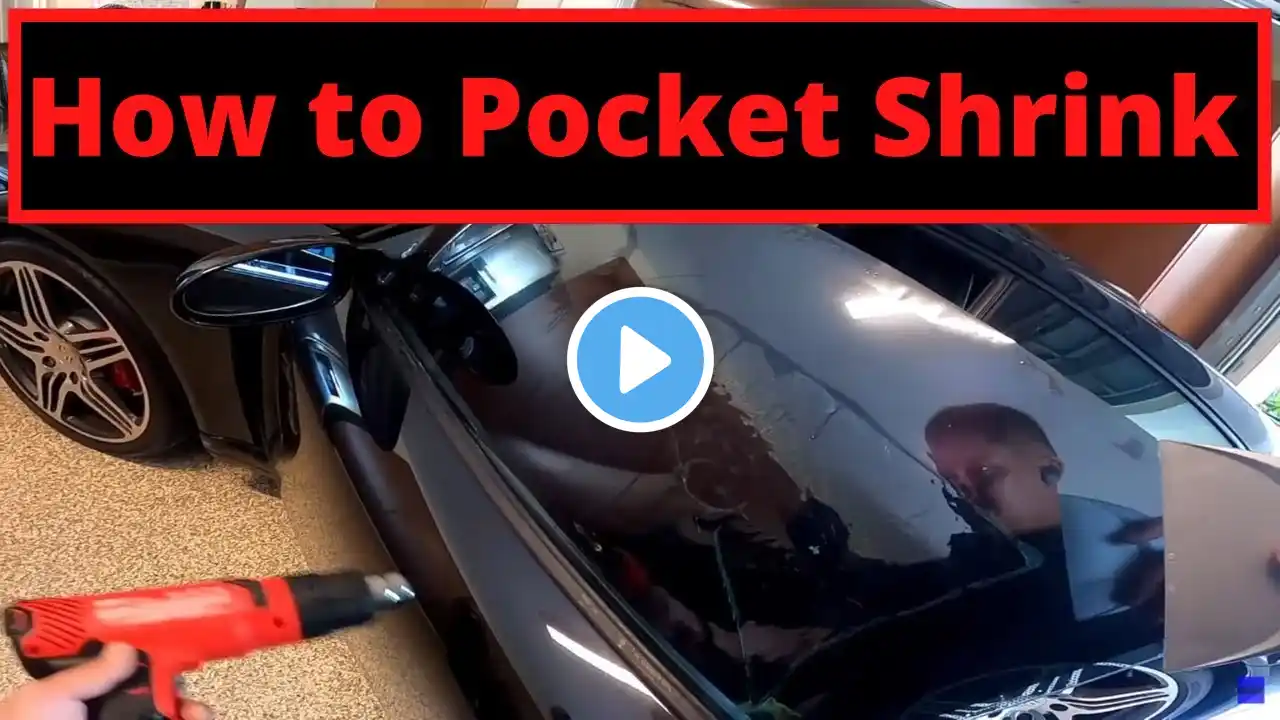
Heat Shrinking Window Tint for Beginners – Dry Shrinking
In today’s window tinting tutorial, I walk my son Gavin through his very first time heat shrinking a rear window using the dry shrinking method. This video is perfect for beginners who want to learn the fundamentals of how to dry shrink window tint step-by-step. You’ll see exactly how I teach him — correcting his technique, explaining why each step matters, and demonstrating how to properly control the film during the shrinking process. If you’re new to tinting, this tutorial breaks down every core skill you need to master heat shrinking and prepare tint film for a clean installation. We cover cleaning the glass, applying the dryer sheet (bounce pad), laying the tint, setting the H pattern, marking shrink lines, and carefully shrinking both sides of the window. By the end of this video, you’ll understand how to dry shrink tint with confidence. Video Chapters: 00:00 – Gavin’s First Time Heat Shrinking a Rear Window 01:04 – How to Clean a Rear Window for Tint 02:32 – Applying Dryer Sheet for Dry Shrinking Prep 03:53 – Setting the H Pattern to Mount the Tint 05:07 – Laying the Tint Properly on the Glass 08:47 – Drawing Shrink Lines for the Dry Shrinking Process 11:04 – Gavin Dry Shrinking for the First Time 23:13 – Me Heat Shrinking the Driver Side 27:31 – Additional Tips About Dry Shrinking Window Tint 28:44 – Outro ******************** 📲 Let’s Connect! Follow Encore Window Tinting and Paint Protection Film on social media: Facebook ➡️ / encorewindowtinting Instagram ➡️ / encorewindowtinting ✅ Visit our website: https://encorewindowtinting.com/ 📧 Contact us anytime: [email protected] 📞 Phone: (209) 762-3495 📍 Address: 1155 E. Bianchi rd. Stockton, California ******************** #EncoreWindowTinting #PaintProtectionFilm #PPFInstallation # #