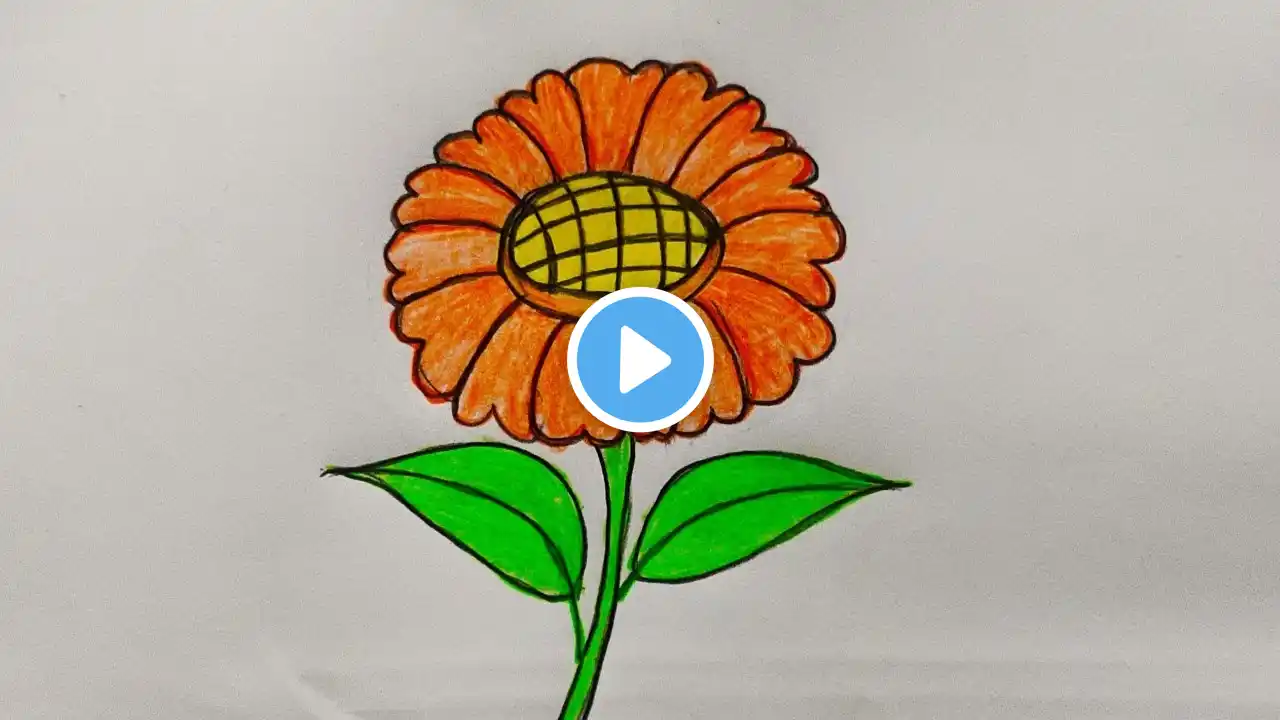
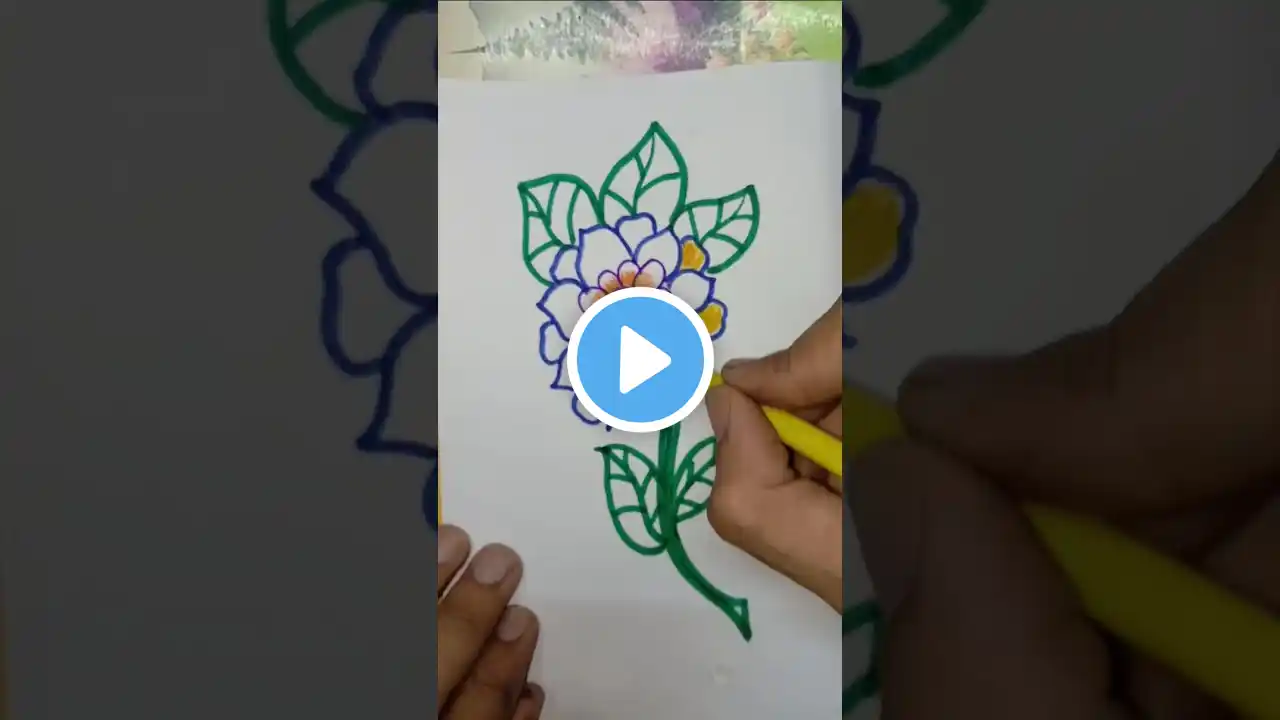
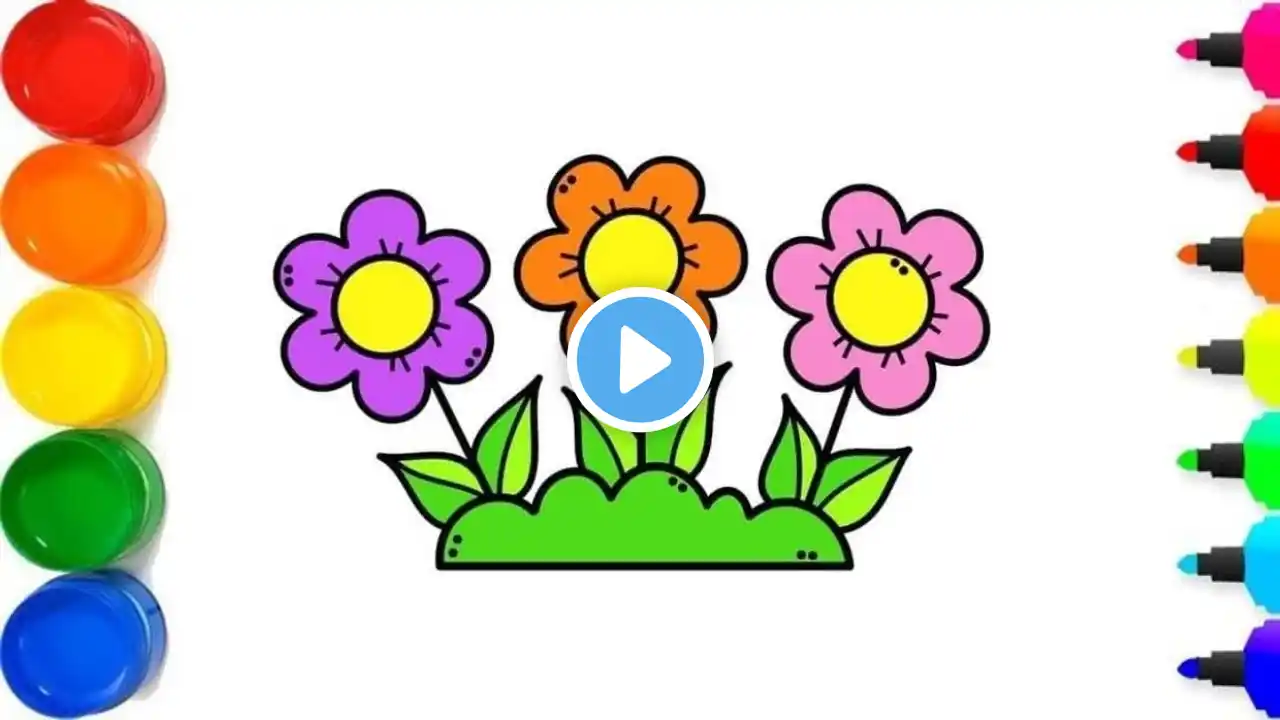
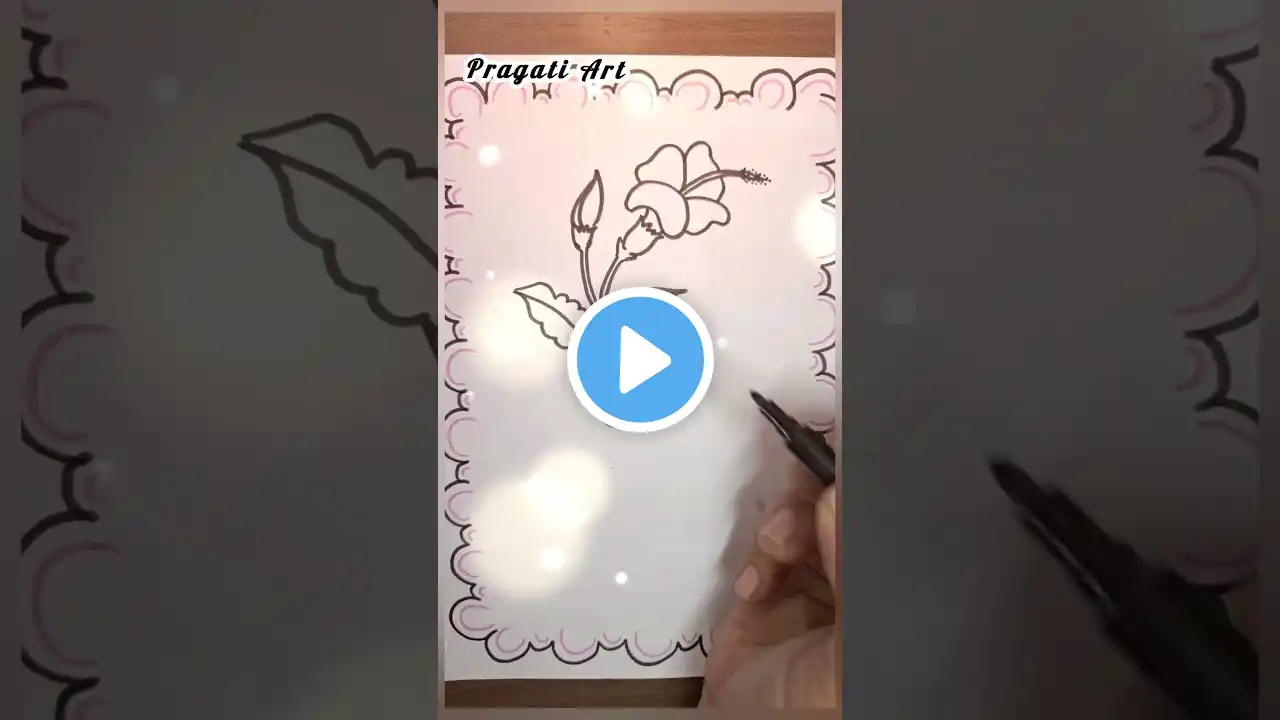
Coloring a Hibiscus Flower for Kids | Easy Drawing and Coloring | Flowers Drawing for Kids
👋 Hi kids! Welcome to Kiddo Color Art! 🎉 In this fun and easy drawing tutorial, we will learn how to draw and color a beautiful hibiscus flower step by step! 🖍️🌺 This simple tutorial is perfect for beginners, young artists, and toddlers who love flowers and nature! 🌿✨ Let’s get started! 🖌️ What You’ll Need: ✅ Paper ✏️ ✅ Pencil & Eraser ✅ Black Marker for Outlining ✅ Brush Pens, Crayons, Markers, or Colored Pencils 🎨 📌 Step-by-Step Guide: 1️⃣ Draw the Center of the Flower – Start with a small circle in the middle. 🌸 2️⃣ Add the Petals – Draw five large, rounded petals around the center. 🌺 3️⃣ Draw the Stamen – Extend a curved line from the center with tiny circles on top to create the stamen. ✨ 4️⃣ Add Leaves – Draw a few leaves around the flower using simple curved shapes. 🍃 5️⃣ Outline Your Drawing – Use a black marker to make your flower stand out. 🖍️ 6️⃣ Color It In! – Use red, pink, yellow, orange, or any bright colors for the flower and green for the leaves! 🌈💚 🎉 Have Fun & Get Creative! 💡 Try different designs like a garden of hibiscus flowers, a tropical beach scene, or a butterfly resting on the petals! 🦋🌞✨ 📢 Don’t forget to like 👍, subscribe 🔔, and share this video with your friends! 💬 Tell us in the comments what colors you used for your hibiscus flower! 🎨 🖌️ Happy Drawing & Coloring! 🖌️🎉 #KiddoColorArt #EasyDrawing #FlowerDrawing #KidsArt #FunDrawing #HibiscusFlower