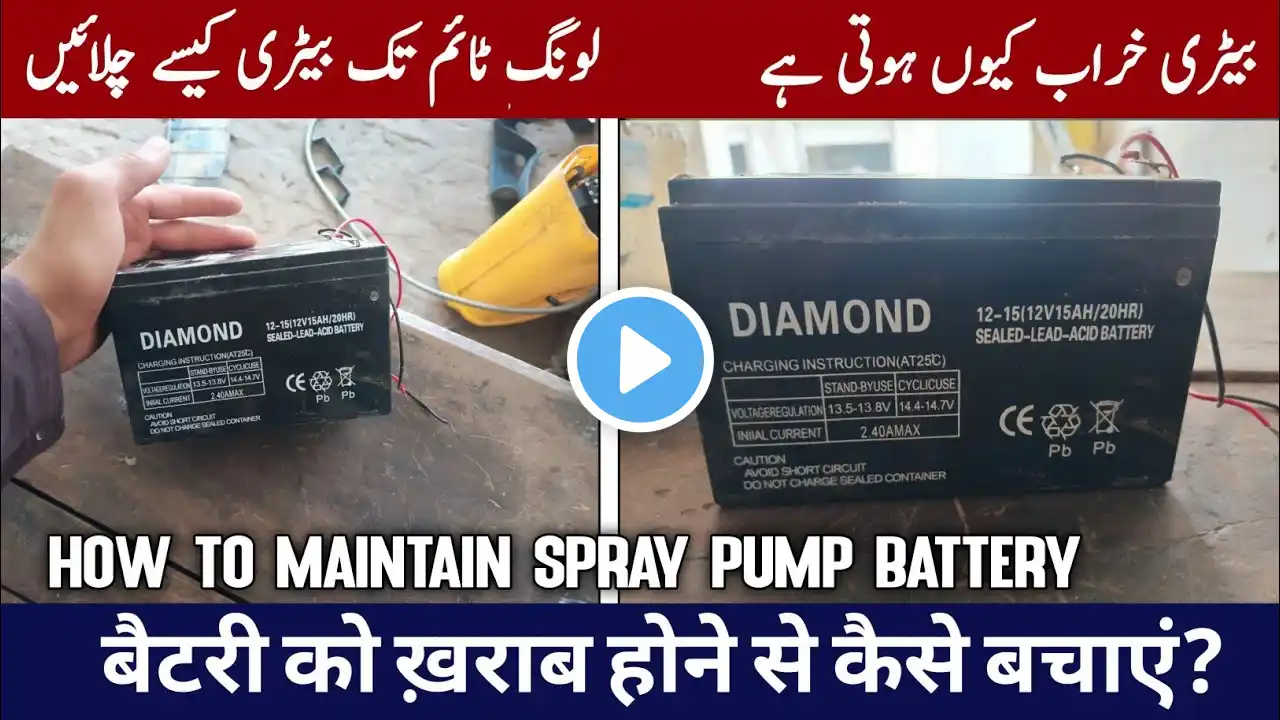
How to Maintain Spray Pump Battery./Irfan Machinery Store/पंप की खराब बॅटरी घरपर रिपेअर करे
spray pump ki kharab battery repair kare स्प्रे पंप की खराब बॅटरी घरपर रिपेअर करे 12v battery repair #agriculture #battery#irfanmachinerystore how to maintain battery spray pump, battery maintain, spray pump battery, how to maintain spray pump battery, how to use spray pump, battery operated spray pump, battery spray pump, spray pump battery repairing, battery spray pump repair, spray pump battery price, how to repair battery spray pump, battery price, how to maintain spray gun, agriculture battery spray pump, how to change spray pump battery, spray pump ki battery kaise theek karen spray machine charger repair, 12 volt battery charger repair, spray machine charger repairing, spray pump charger repair, 12 volt spray machine charger repair, how to repair spray machine charger, spray machine charger, spray machine battery charger repair, agriculture battery spray pump charger repair, repair spray machine charger, how to repair spray pump charger, battery charger repair, spray machine ka charger ko kiyse sahi kare, spray machine charger price 12 Volt Spray Machine Charger Repair | Pump Charger Repairing.खेतो मैं स्प्रे करणे का Charger Repair To charge an electric sprayer pump battery, you'll need to follow these steps: 1. **Check the Charger**: Ensure that the charger you're using is compatible with a 12-volt battery. If it's not, you'll need to acquire a suitable charger. 2. **Inspect the Battery**: Before charging, inspect the battery for any visible damage or leaks. If you notice any issues, it's best to replace the battery before proceeding. 3. **Connect the Charger**: Plug the charger into a power outlet, making sure it's switched off initially. 4. **Connect the Battery**: Identify the positive (+) and negative (-) terminals on both the battery and the charger. Typically, the positive terminal is marked with a plus sign (+) and the negative terminal with a minus sign (-). Connect the positive terminal of the battery to the positive terminal of the charger, and similarly, connect the negative terminal of the battery to the negative terminal of the charger. 5. **Turn on the Charger**: Once the connections are secure, switch on the charger. Most chargers have indicator lights to show when the battery is charging and when it's fully charged. 6. **Monitor the Charging Process**: Keep an eye on the charger and battery while charging. If you notice any unusual heat or smells, immediately disconnect the charger and check for any issues. 7. **Full Charge**: Allow the battery to charge fully. Depending on the charger and the state of the battery, this could take several hours. 8. **Disconnect and Store**: Once the battery is fully charged, switch off the charger and disconnect it from the power outlet and the battery. Store the charger and battery in a safe place until needed again. If you encounter any issues with the charger, such as it not working or needing repair, it's best to consult a professional electrician or technician who can diagnose and fix the problem. Attempting to repair a charger yourself can be dangerous and may void any warranties.