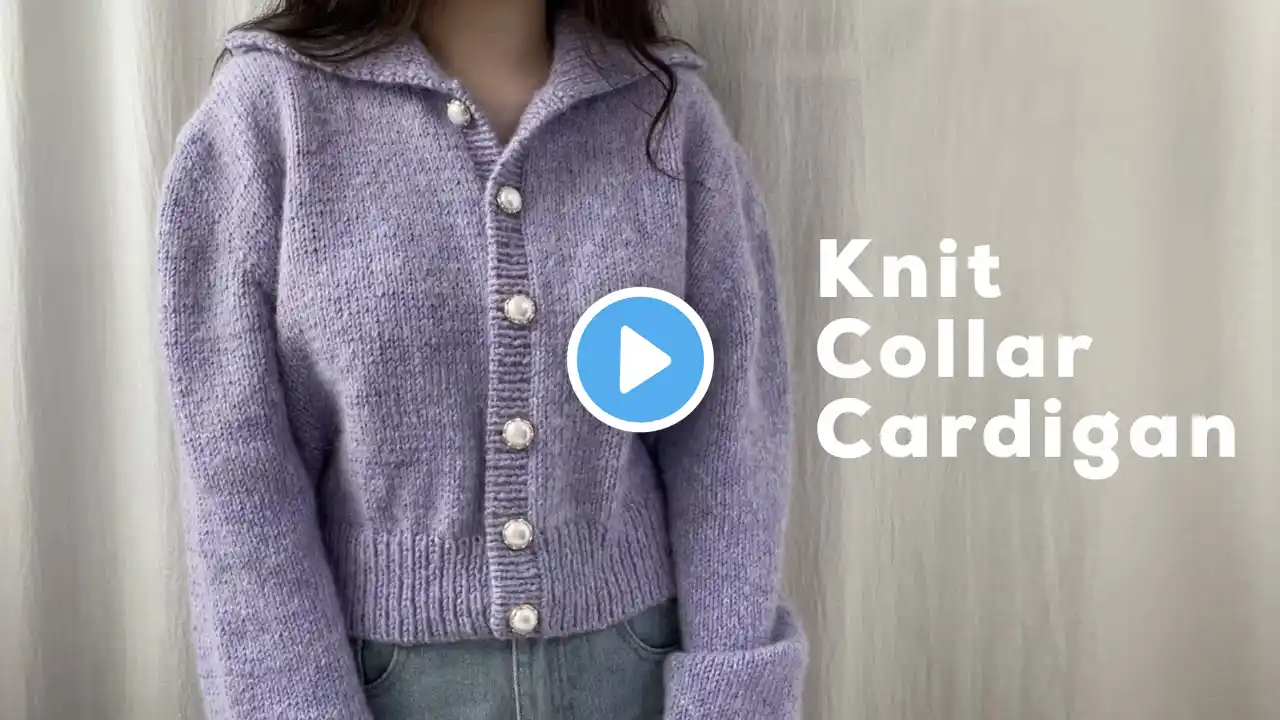
(1) 대바늘 줄무늬 가디건 만들어보아요:) Knit striped cardigan tutorial
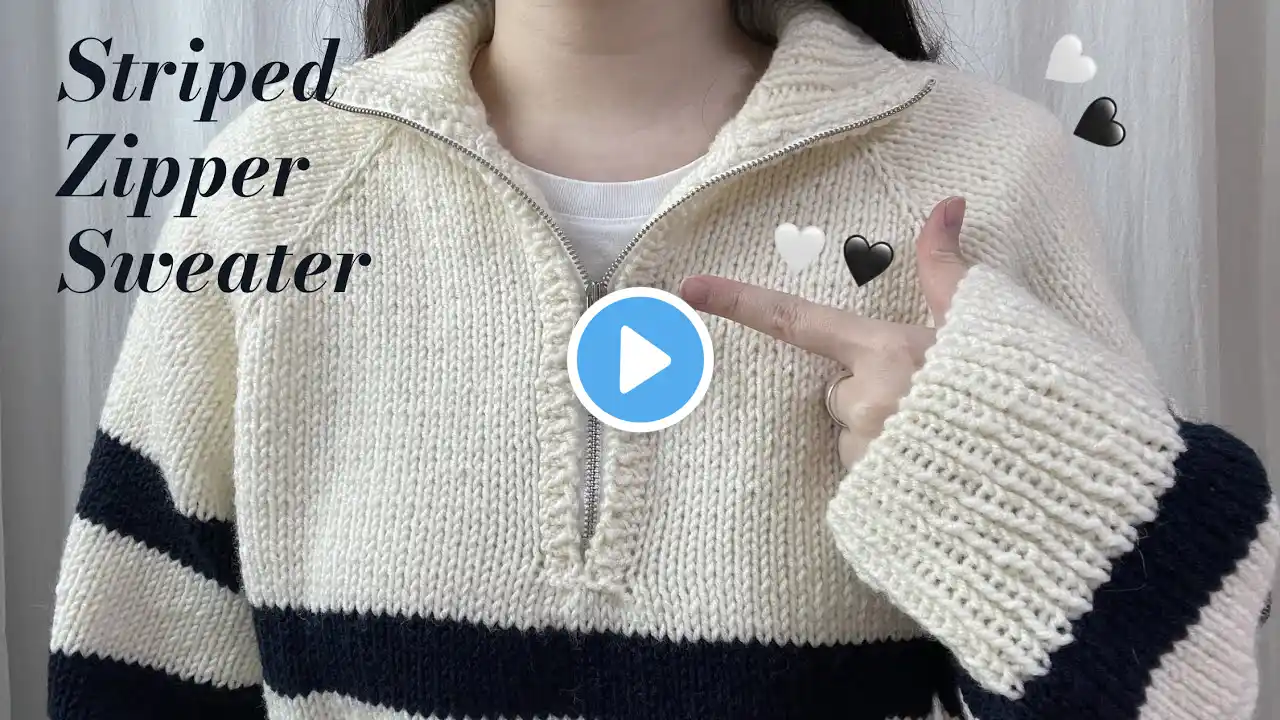
#대바늘 #knit 안녕하세요. 태팅블로썸입니다! 지난 지퍼스웨터를 만들고 바로 만들기 시작해 이제야 완성한 '줄무늬 가디건'입니다~~ 일반 레글런 가디건에 줄무늬를 더한 디자인이라 많이 어렵지않아요!! 시작전 알아두셔야할 참고사항!! 영상 속에서 저는 흔들코를 이용해 시작코를 만들었는데 다 만들고나니 목고무단이 너무 잘 늘어나서 나중에 바느질하여 덧대어주었어요~ 그래서 굳이 흔들코가 아니어도 좋을 것 같습니다!! 바느질해서 모양 잡아주는 것도 영상으로 업로드할 예정입니다:) 만약 영상을 보시다 틀린 부분을 발견하신다면 댓글로 꼭 알려주세요♥ 사이즈 가슴단면 : 48cm 총길이 : 48cm 소매길이 : 목고무단부터 64cm 단추크기 : 지름 1.6-1.7cm 재료 실 : 알리제 클래식 라나골드 (네이비 3볼, 아이보리 1볼) 총 350g 바늘 : 5mm+80-100cm, 4.5mm+80-100cm, 4mm+80-100cm (조립식 바늘로는 5mm, 4.5mm, 4mm와 줄 40cm 2개, 100cm 1개) (목고무단 : 4.5mm+80-100cm / 레글런, 몸통 : 5mm+80-100cm/ 몸통고무단 : 4.5mm+80-100cm / 소매 : 5mm+80-100cm or 40cm / 소매고무단 : 4.5mm+80-100cm or 40cm / 단추고무단 : 4mm+80-100cm) 그외 : 돗바늘, 마커, 단추 게이지 : 5mm 바늘 10cmX10cm 16코X23단 Tip 1. 목둘레 변경 저는 시작코 총 77코로 시작해주었는데요, 원하시는 목둘레를 재서 게이지에 맞게 계산해 홀수코로 잡아주시면 됩니다. 저와 차이나는 콧수만큼 앞판, 소매, 뒷판 부분에서 더하거나 빼서 마커를 걸어주고 진행하시면 됩니다. 2. 가슴둘레 변경 W&T구간이 끝나면 레글런늘림을 더 해주어 원하는 가슴둘레까지 떠주는데요, 가슴둘레를 더 크게 하신다면 39단까지 동일하게 뜨신 후 영상 속 [40-43단] 반복구간을 [40-41단]을 반복으로 변경하여 원하는 가슴둘레까지 늘려주시면 됩니다. 가슴둘레를 더 작게 하신다면, [22-23단] 반복구간을 39단보다 덜 뜨신 다음, 영상 속 [40-43단]을 원하는 가슴둘레까지 진행하시면 됩니다. 3. 총기장, 소매기장 영상과 상관없이 원하시는 기장까지 뜨시고 마무리하시면 됩니다 ------------------------------------------------------------------------------------------------ Hello. This is Tatting Blossom! This is the 'striped cardigan' that I just finished making the last zipper sweater and started making it right away~~ It's not too difficult because it's a regular raglan cardigan plus stripes!! Things to know before starting!! In the video, I made stitches using the tubular cast on, but when I finished making it, the band of the neck stretched too well, so I sewed it later and added it. I plan to upload a video of how to sew and shape it :) If you find something wrong while watching the video, please let me know in the comments♥ size Chest section: 48cm total Length: 48cm Sleeve Length: 64cm button size : 1.6-1.7cm material Thread: Alize Classic Lana Gold (navy 3balls, ivory 1ball) total 350g Needle: 5mm+80-100cm, 4.5mm+80-100cm, 4mm+80-100cm (neck band : 4.5mm+80-100cm / raglan, body : 5mm+80-100cm/ body band : 4.5mm+80-100cm / sleeve : 5mm+80-100cm or 40cm / sleeve band : 4.5mm+80-100cm or 40cm / button band : 4mm+80-100cm) Others: yarn needle, markers, buttons Tip 1. Change the neck circumference I started with a total of 77 sts, but you can measure the neck circumference you want and calculate it according to the gauge to get an odd number stitch. You can add or subtract from the front panel, sleeves, and back panel as much as the stitches that is different from mine and hang a marker before proceeding. 2. Change the chest measurement At the end of the W&T section, the raglan is increased to the desired chest measurement. If the chest measurement is made larger, change the [40-43 row] repetition section in the video to the repetition section [40-41row] and increase it to the desired chest circumference. If you want to make the chest measurement smaller, you can knit the repetition section of [22-23row] less than 39row, and then proceed with [40-43row] in the video to the desired chest measurement. 3. total length, sleeve length Regardless of the video, you can knit up to the length you want and finish it. Blog : https://blog.naver.com/soomin7892 Instagram : / imsooming 태팅레이스 온라인클래스(입문) : https://class101.net/products/LUotjWK... 태팅레이스 온라인클래스(초급) : https://class101.net/products/jeHQU9r...