How to Enable USB Debugging on TECNO SPARK Go 1 | Step-by-Step Guide
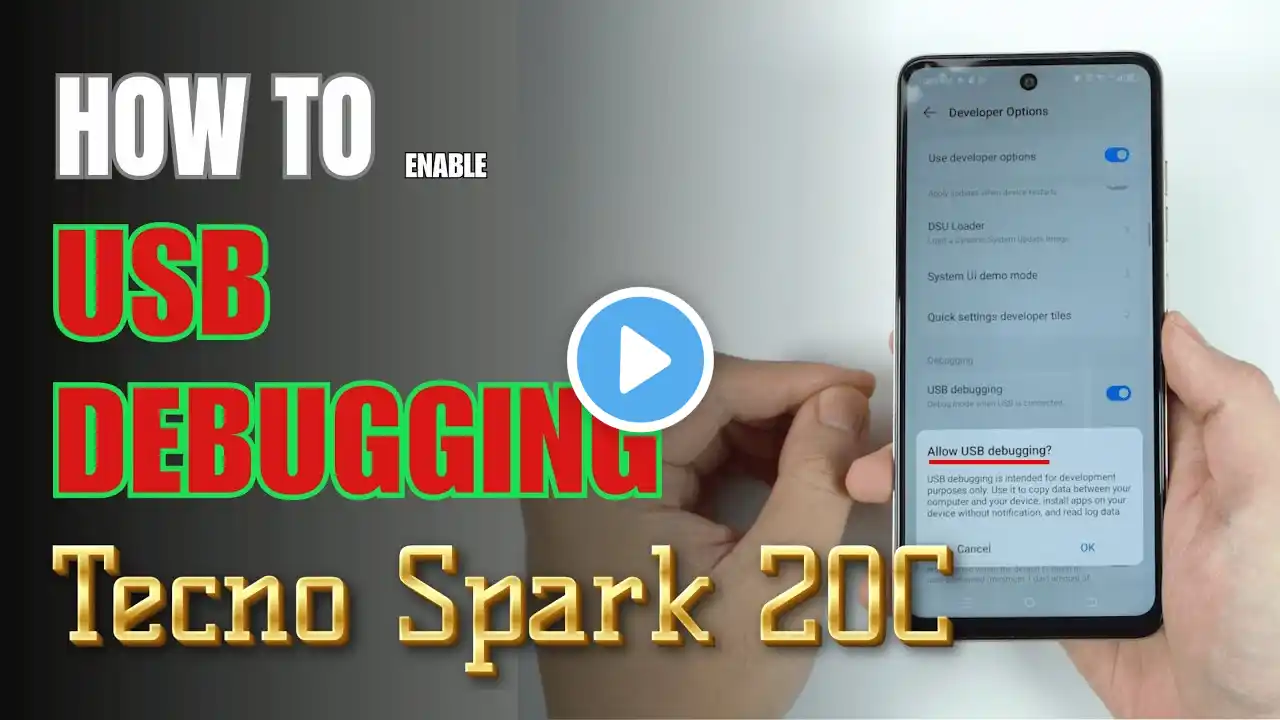
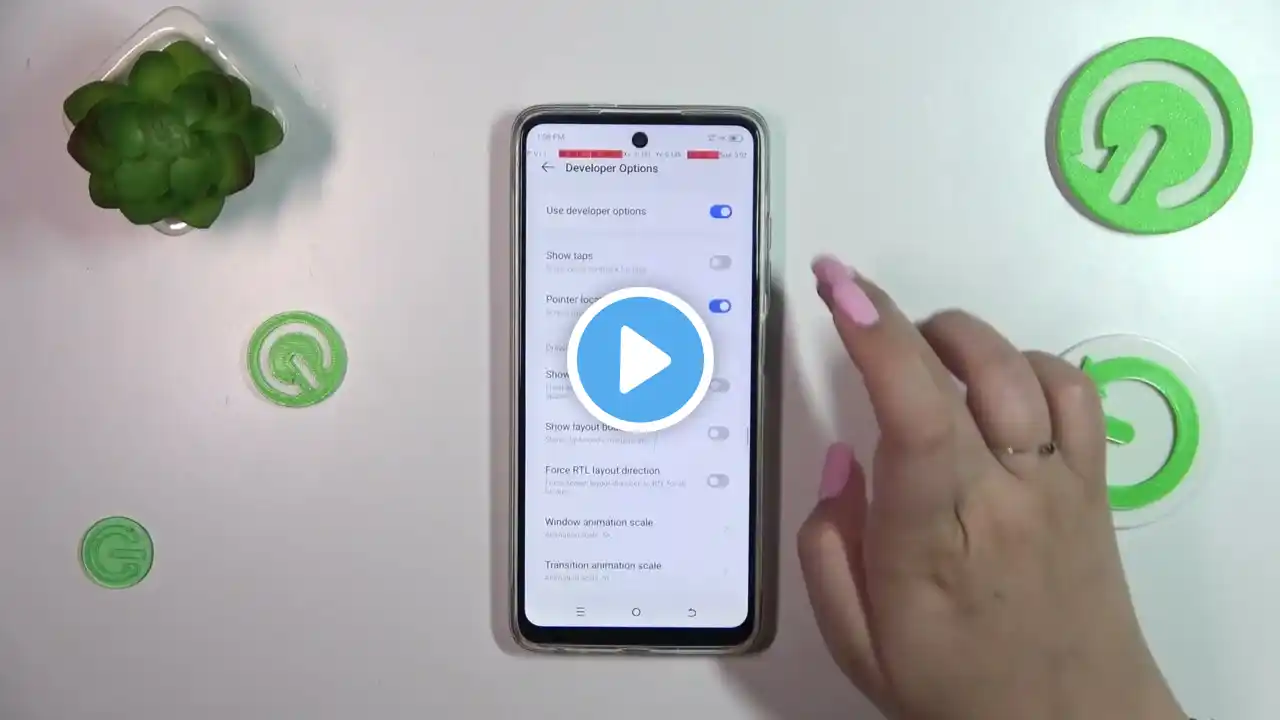
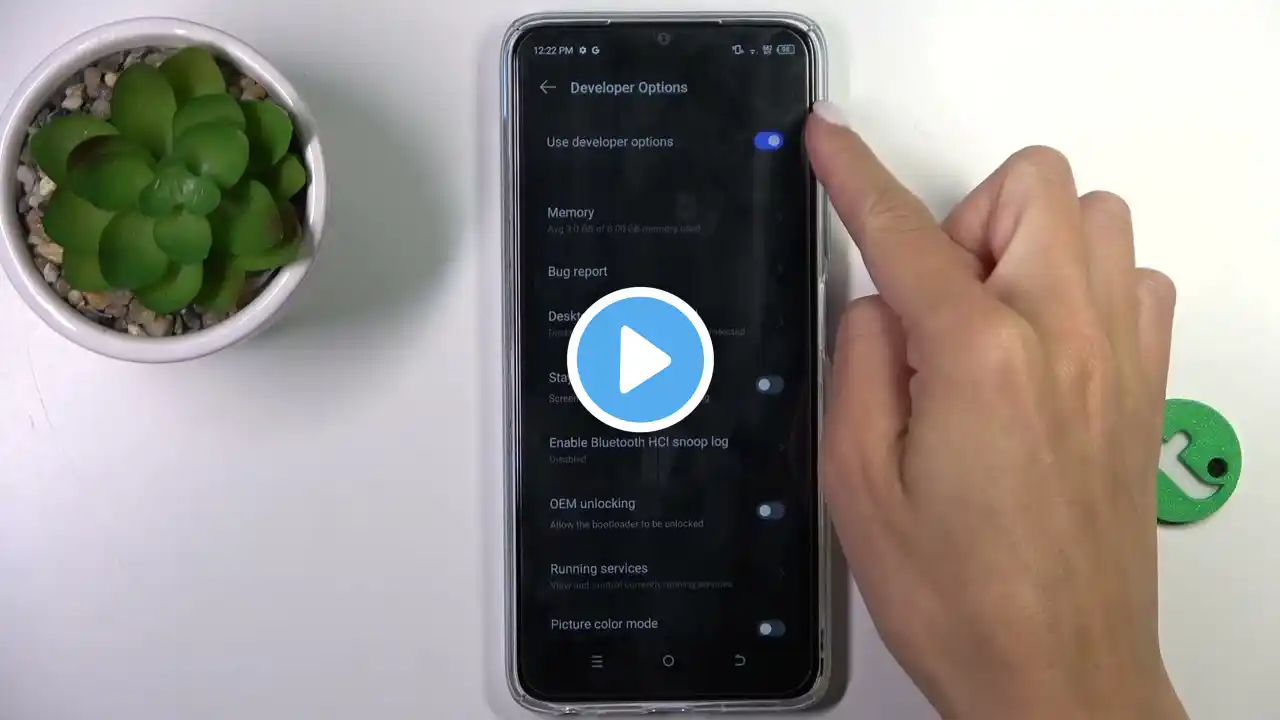
How to Enable USB Debugging on TECNO Spark Go 1 | Step-by-Step Guide 0:09 Checking Developer options 0:19 Enable Developer options 0:37 Enable USB Debugging Enabling USB Debugging on your TECNO Spark Go 1 allows you to connect the device to a computer for advanced functions like file transfers, using ADB commands, or app development. Here’s a step-by-step guide: 1. Open Settings From the home screen, locate and open the Settings app. 2. Access Developer Options USB Debugging is located within Developer Options. If this is not already enabled: Scroll Down to About Phone: In the Settings menu, scroll to and tap About Phone. Find Build Number: Locate the Build Number or Software Version. Tap Build Number Multiple Times: Tap it 7 times quickly until you see a message saying, "You are now a developer!" (You may need to enter your lock screen password or PIN to confirm). 3. Navigate to Developer Options Go back to the Settings menu. Scroll down and tap System (or directly Developer Options, depending on the software version). Select Developer Options from the list. 4. Enable USB Debugging Scroll down to the Debugging section in Developer Options. Locate USB Debugging and toggle it on. Confirm the prompt that appears by tapping OK. 5. Verify USB Debugging Connect your TECNO Spark Go 1 to a computer using a USB cable. A prompt may appear on your phone asking to allow USB debugging for the connected device. Tap Always Allow if you trust the computer and then select OK. Key Notes USB Debugging should only be enabled when necessary, as it can pose security risks if left on. Ensure you connect your phone to a trusted computer to prevent unauthorized access. Disabling Developer Options after use will turn off USB Debugging. By following these steps, USB Debugging will be successfully enabled on your TECNO Spark Go 1! #tecnophones #tecnophone #tecnosparkgo1 #tecnotips #tecnotricks #techqa #usbdebug #usbdebugging #developeroptions