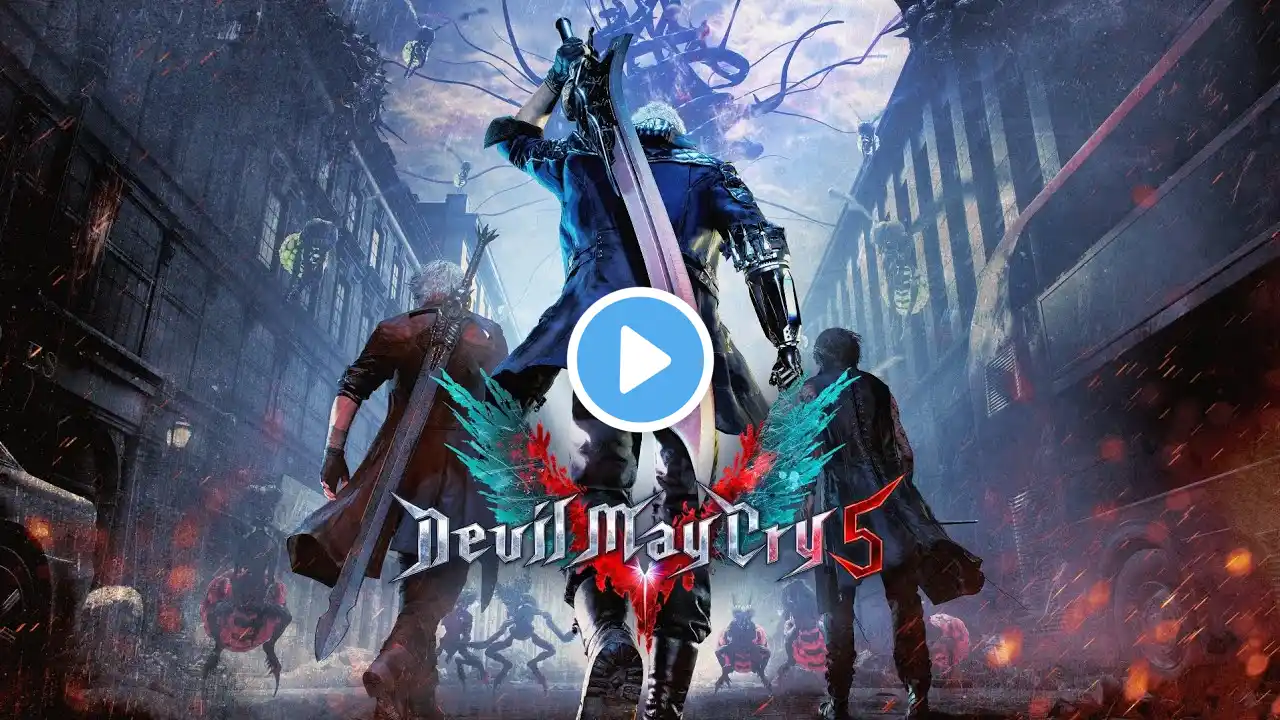
Devil May Cry 5 Mission 4 Walkthrough | V's Debut Gameplay (No Commentary, Full Campaign)
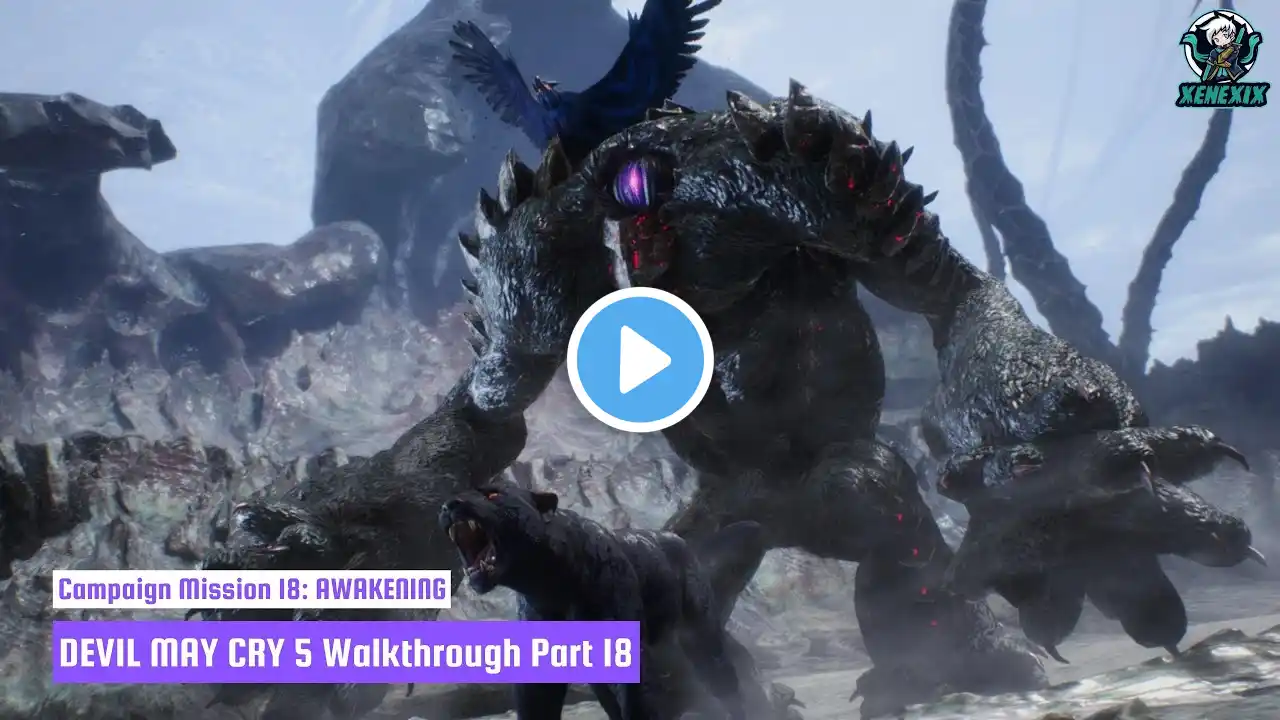
*Devil May Cry 5 - Mission 4: Guide* 🎮 --- *1. Sewer Area: Forced Battle* 💀 *First Encounter:* A large demon breaks the road, sending V down into the sewers. You'll face a forced battle against *Hell Caina* 🦹♂️ in tight, cramped spaces. *Blood Clot Puzzle:* After defeating the enemies, proceed through the tunnel and you'll reach a *Blood Clot* 🩸. Destroy it to unblock the nearby pipe. --- *2. Shipyard Area* 🚢 *Pipe Exit:* After passing through the opened pipe, you'll arrive at a large shipyard. Veer left to climb onto metal scaffolding, where you'll need to destroy another *Blood Clot* 🩸. *Demon Leg Hazard:* While destroying the Clot, be wary of a large demon leg 👣 that will drop from above. It can deal damage if it hits you, but you can avoid it by standing on the left side of the Blood Clot. *Mandatory Fight:* Afterward, descend and jump over some shipping crates. A battle against *Hell Caina**, **Hell Antenora**, and **Pyrobats* 🔥 will begin. Another leg will drop from above, so stay on the far side of the room to avoid it. *Blue Orb Fragment:* After the fight, jump down and go through the narrow passage to the left to obtain a *Blue Orb Fragment* 🔵. --- *3. Secret Mission and Empusa Battles* 👑 *Secret Mission 04:* Return to the area where you jumped down and look for a large wall made of wood and metal supports. Summon *Nightmare* to break the wall, which will reveal a room and trigger another forced battle with *Empusas* (including the Green and Red varieties) 👺. *Empusa Battle:* Once defeated, head up the yellow stairs in front of the shipping containers to find *Secret Mission 04* 🎯. --- *4. Empusa Queen & Next Phase* 👑 *Battle with Empusa Queen:* After finding the *Secret Mission**, jump off the stairs and head up the containers. You'll face the **Empusa Queen* 👑 for the first time. *Tunnel Progression:* Continue forward through a tunnel created by orange shipping containers, fighting or avoiding the leg that drops down. At the end of the tunnel, use the *green tarp* to jump onto the scaffolding 🛠️. *Purple Orb Fragment:* Look around for a *Purple Orb Fragment* 💜. Once you've grabbed it, continue forward through the room. --- *5. Hidden Red Orb Cache* 🔴 *Red Orb Cache:* After destroying the *Blood Clot* at the end of the room, jump down into a hole and collect the *Hidden Red Orb Cache* 🔴 that appears above your head. Then, proceed forward through the tunnel system. --- *6. Final Outside Area* 🌌 *Empusa Battles:* Once outside, you'll encounter more **Empusas**, but they're optional and can be avoided if you wish. 💥 *Boss Battle Prep:* Before the final battle, head to the phone booth 📞 to call *Nico* if you need to customize anything. --- *Boss: Elder Geryon Knight* ⚔️🦸♂️ The final boss of the mission, **Elder Geryon Knight**, controls time and uses lightning-based attacks ⚡. Here's what you need to know: *Time-Slowing Spheres:* Watch out for the time-slowing spheres ⏳ that Geryon casts. They slow your movements but can be avoided with Shadow's dodge iframes. *Teleporting Knight:* The Elder Geryon Knight will teleport frequently, making it hard to land attacks. *Electric Attacks:* Avoid his electric discharges ⚡ and lightning bullets 🔫 that he fires at you. *Strategy:* Summon *Nightmare* to distract the boss and protect your familiars, and keep *Shadow* safe for consistent iframes. --- *Boss Attacks:* *Discharge:* Lightning attack from Geryon's front legs ⚡. *Electric Bullets:* A series of lightning bolts 🔫. *Time Spheres:* Slows down time in parts of the arena ⏳. *Charge:* Geryon Knight charges with his sword ⚔️. *Teleport Slam:* Geryon teleports and slams down on you 💥. *Hind Kick:* Geryon kicks behind him 🦵. --- Good luck on your mission! You've got this, Devil Hunter! 💪


