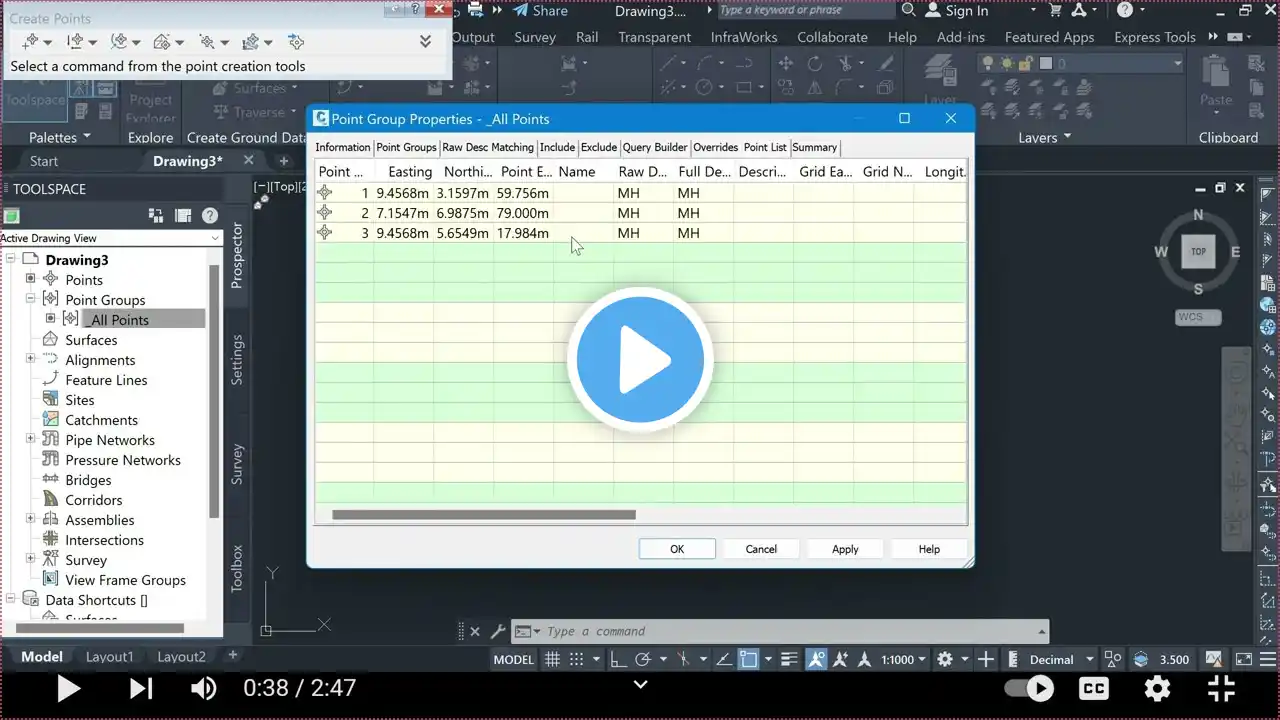
How to import easting and northing points in Civil 3d Part 18 #civil3d #architecture #autocadcivil3d
Creating easting and northing points in AutoCAD Civil 3D involves adding points to your drawing with coordinates defined by easting (X) and northing (Y) values. Here’s a step-by-step guide to help you through the process: Step-by-Step Guide to Creating Easting and Northing Points in AutoCAD Civil 3D #### Step 1: Prepare the Drawing 1. **Open Civil 3D**: Start AutoCAD Civil 3D and open your existing drawing or create a new one. 2. **Set Coordinate System**: Before adding points, make sure your drawing has the correct coordinate system set. **Ribbon**: Go to the `Settings` tab, right-click on `Drawing Settings`, and select `Edit Drawing Settings`. In the `Drawing Settings` dialog box, go to the `Units and Zone` tab, select the appropriate coordinate system, and click `OK`. #### Step 2: Create Points Manually 1. **Access the Points Creation Tool**: **Ribbon**: Go to the `Home` tab, then to the `Create Ground Data` panel, and click on `Points` `Create Points - Manual`. **Command Line**: Type `POINT` and press Enter, or use the `CREATEPOINTMANUAL` command. 2. **Input Points Manually**: Follow the prompts to specify the point location by typing the easting and northing coordinates. For example: ``` Command: _POINT Specify a point: X, Y ``` Enter the easting (X) and northing (Y) coordinates separated by a comma (e.g., `1000, 2000`). #### Step 3: Import Points from a File 1. **Prepare a CSV File**: Prepare a CSV file with the point data. The CSV file should have columns for Point Number, Easting (X), Northing (Y), Elevation (Z), and Description (optional). For example: ``` Point Number, Easting, Northing, Elevation, Description 1, 1000, 2000, 50, Point 1 2, 1010, 2010, 55, Point 2 ``` 2. **Access the Import Points Tool**: **Ribbon**: Go to the `Home` tab, then to the `Create Ground Data` panel, and click on `Points` `Import Points`.