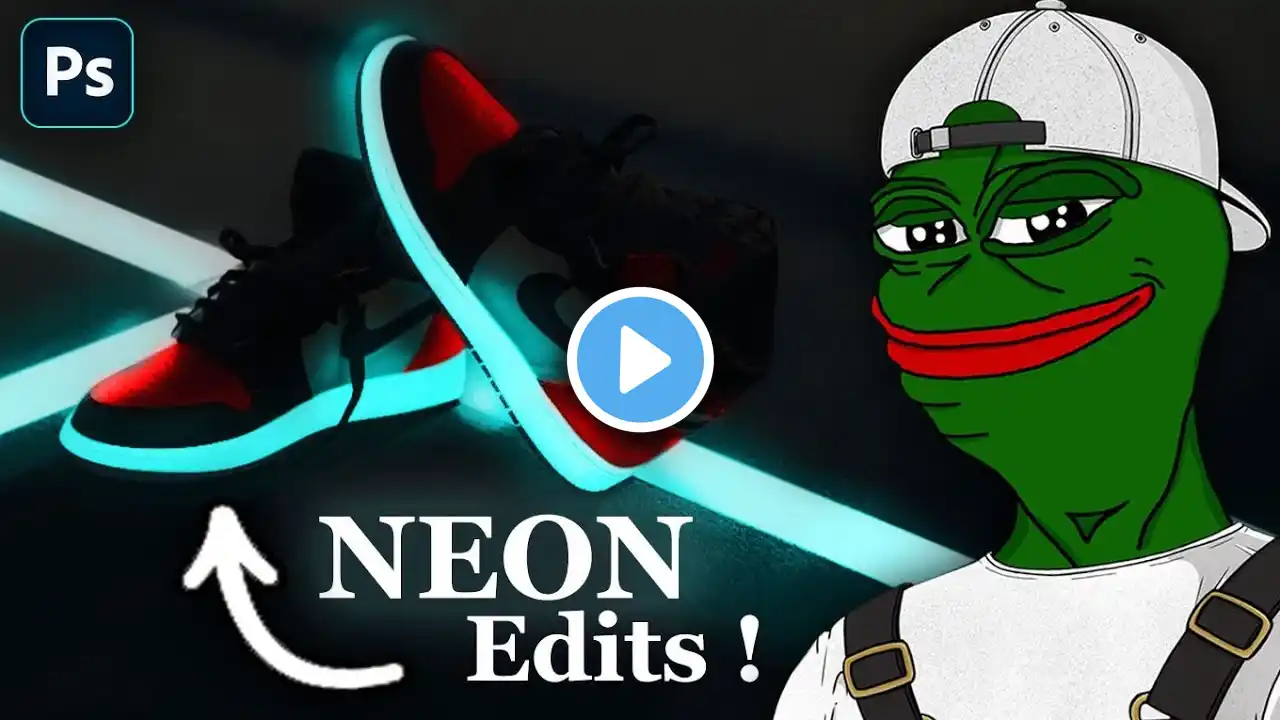
Crazy Neon Sneakers Edits in Photoshop ! || Begginers tutorials
Hello ladies and gentleman......... To create a neon glow effect on sneakers in Photoshop, follow these steps: 1. Open your desired image of the sneakers in Photoshop. 2. Duplicate the background layer by dragging it over the “create a new layer” button at the bottom of the layers panel or by right-clicking the layer and selecting “duplicate layer”. 3. Name the duplicated layer “neon glow”. 4. Convert the “neon glow” layer into a smart object by right-clicking the layer and selecting “convert to smart object”. 5. Go to the “filters” menu and select “blur”, and then “gaussian blur”. Set the radius to a value that creates the desired blur and click “ok”. 6. Change the blending mode of the “neon glow” layer to “overlay” or “soft light” to add color and contrast. 7. Add a new layer above the “neon glow” layer and fill it with a bright neon color of your choice. 8. Change the blending mode of the neon color layer to “color” to apply the color only to the underlying layers. 9. Select the “neon glow” layer and go to the “layer style” menu. Choose “outer glow” and adjust the settings to create the desired neon glow effect. 10. Finally, save your image as a JPG or PNG file. With these steps, you can create realistic and striking neon glow effects on your sneakers in Photoshop.