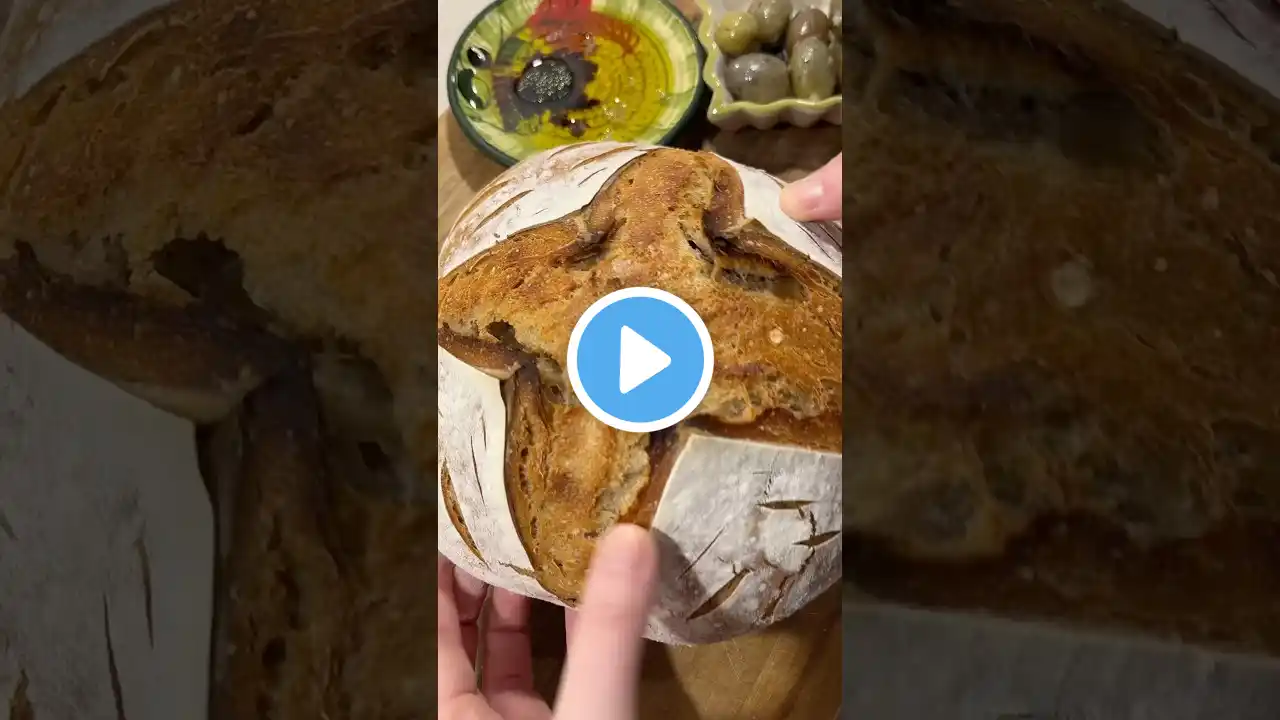
How to Make Sourdough Starter Day 2-12 | Easy Step-By-Step Tutorial
Welcome back to my sourdough starter journey! We’re diving into Days 2-12, covering daily feedings, what to expect, troubleshooting tips, and when your starter is ready to bake! 📌 What You’ll Learn in This Video: ✔️ How to properly discard and feed your starter each day ✔️ Why you should always leave 100g of starter in the jar ✔️ How to track bubbles and rise ✔️ What to do if your starter isn’t doubling by Day 10 ✔️ The float test and when your starter is officially ready to bake! Pro Tip: Use a Weck jar for the best results—the loose-fitting lid allows airflow while preventing contamination. Always use spring water to avoid chlorine interfering with fermentation. Educate Yourself: Did you know? Your starter is a living culture of wild yeast and lactic acid bacteria that work together to create that tangy sourdough flavor. The more you feed it, the stronger it becomes! I WILL smell throughout the first few days, so dont worry, there is nothing wrong with it. It is literally fermenting. Don’t Give Up! My starter took 14 days to become fully active, so if yours isn’t doubling by Day 10, keep feeding it daily! It just needs more time to strengthen. Follow Along: Day 2: First discard & feeding! Learn how to measure properly. Day 3-5: Bubbling begins—your starter is waking up! Day 6-8: Strengthening phase—watch for a rise within 4-8 hours. Not happening? No worries, just keep feeding it! Day 9-12: Final tests! Is your starter doubling? Does it pass the float test? 🔔 Subscribe for More Sourdough Content! Like if this helped you! Subscribe so you don’t miss baking with your starter in the next video! Drop a comment—how is your starter coming along? View & Print my Full Sourdough Starter Instructions here: https://elliescozybakes.wixsite.com/e... #SourdoughStarter #SourdoughBread #SourdoughForBeginners #BakingFromScratch #ElliesCozyBakes