![How To Build: MAXIMUM EFFICIENCY IRON FARM+CHUNK LOADER [Minecraft 1.21.5]](https://krtube.net/image/UqqW4xKuPsc.webp)
How To Build: MAXIMUM EFFICIENCY IRON FARM+CHUNK LOADER [Minecraft 1.21.5]
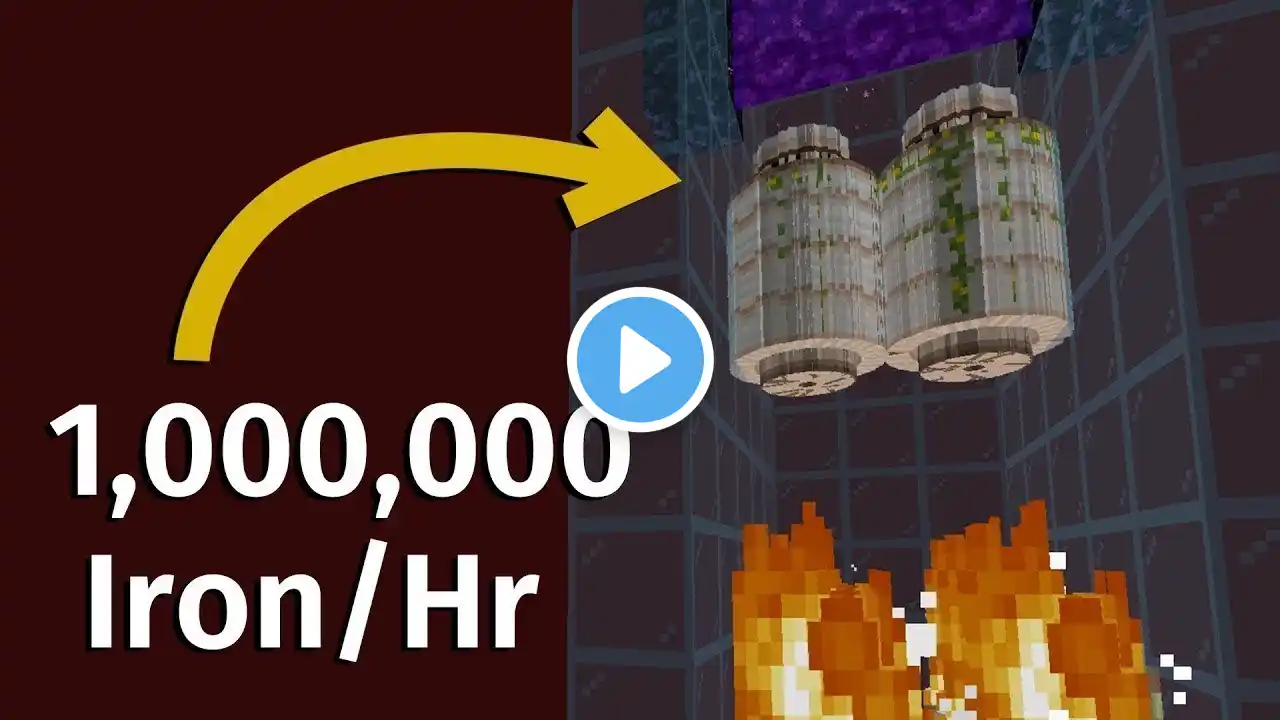
Welcome back to the channel, everyone! As promised, today I’m finally showing you how to build the ultimate, maximum-efficiency Iron Farm. In this video, I’ll guide you step-by-step on how to create a farm that guarantees golem spawns with every attempt, significantly increasing the rates compared to other designs. The farm works in Minecraft Java 1.19+ (1.20.x, 1.21.x) Yes, also Java 1.21.5 No, doesn't work on Bedrock Rates: In the perfect conditions (void) the farm easily reaches around 450+ ingots/hour/unit (3 villagers). So the double set-up gets you 15 stacks/hour. Please note that this number can vary based on “client lag” and other factors when built in survival (but the number will not be far off). 🔗 Important Links: My First Iron Farm Tutorial: • [BETTER AUDIO IN DESCRIPTION] Have We... Why This Farm is So OP: • Revolutionizing IRON FARMS With My Vi... Redstone-Powered Villager Breeder: • The ULTIMATE Villager Breeder Tutoria... Xisuma's Chunk Loader: • Minecraft 1.20 Chunk Loader (Self Fix... 📍 What You’ll Learn: Location: How to choose the perfect spot for your farm, including the 19-block height requirement for the kill zone. Chunk Grid: How to select a chunk for optimized efficiency and dual setups. Building the Farm: Step-by-step instructions to create the killing and collection system. Villagers and Zombies: How to use redstone-powered breeders, stack villagers, and safely add a zombie to scare the villagers. Doubling the Farm: How to mirror your setup for even more iron golems. Chunk Loader: Using Xisuma’s self-fixing chunk loader to keep your farm operational at all times. 🌟Chapters: 0:00 - Introduction •Overview of the iron farm and some key information. 2:00 - Item List 2:08 - Step 1: Choosing the Ideal Location •Learn how to pick the perfect spot for your farm, including the 19-block height requirement for the killing mechanism.¨ 2:43 - Step 2: Selecting a Chunk •Understand how to use chunk grids for optimal placement, especially if you're building a dual setup. •Press F3+G to bring the grid (default setting) 3:52 - Step 3: Building the Killing and Collection Area •Step-by-step instructions on building the platform and setting up the drop collection. •Check out this video for improved collection system with item filters, auto-crafters, and more: • [BETTER AUDIO IN DESCRIPTION] Have We... 6:47 - Step 4: Building the Main Structure •Building the frame and redstone components necessary for the pistons to push golems into the kill chamber. 11:25 - Step 5: Adding the Second Layer •How to add the second layer, and optimize the space for villagers and zombies. 12:32 – Adding the Villagers: Use my redstone-powered breeder to make things easier: • The ULTIMATE Villager Breeder Tutoria... 14:47 - Step 6: Adding the Zombie •Placing the zombie in a bubble column to scare the villagers, plus ensuring your zombie doesn't despawn with a nametag. 15:10 - Step 7: Doubling the Farm •Mirror your design for a dual farm and how to stack multiple units for more efficiency. 15:34 - Step 8: Chunk Loading •Using the xisumas’ self-fixing chunk loader to keep your farm running even when you're not around. VIDEO HERE: • Minecraft 1.20 Chunk Loader (Self Fix... 15:58 - Conclusion ________________________________________ Hashtags: #IronFarm #MinecraftTutorial #Redstone #MinecraftEfficiency #IronFarmTutorial #MinecraftRedstone #MinecraftFarming #MinecraftTips #MinecraftSurvival #MinecraftIronGolemFarm #minecraftjava