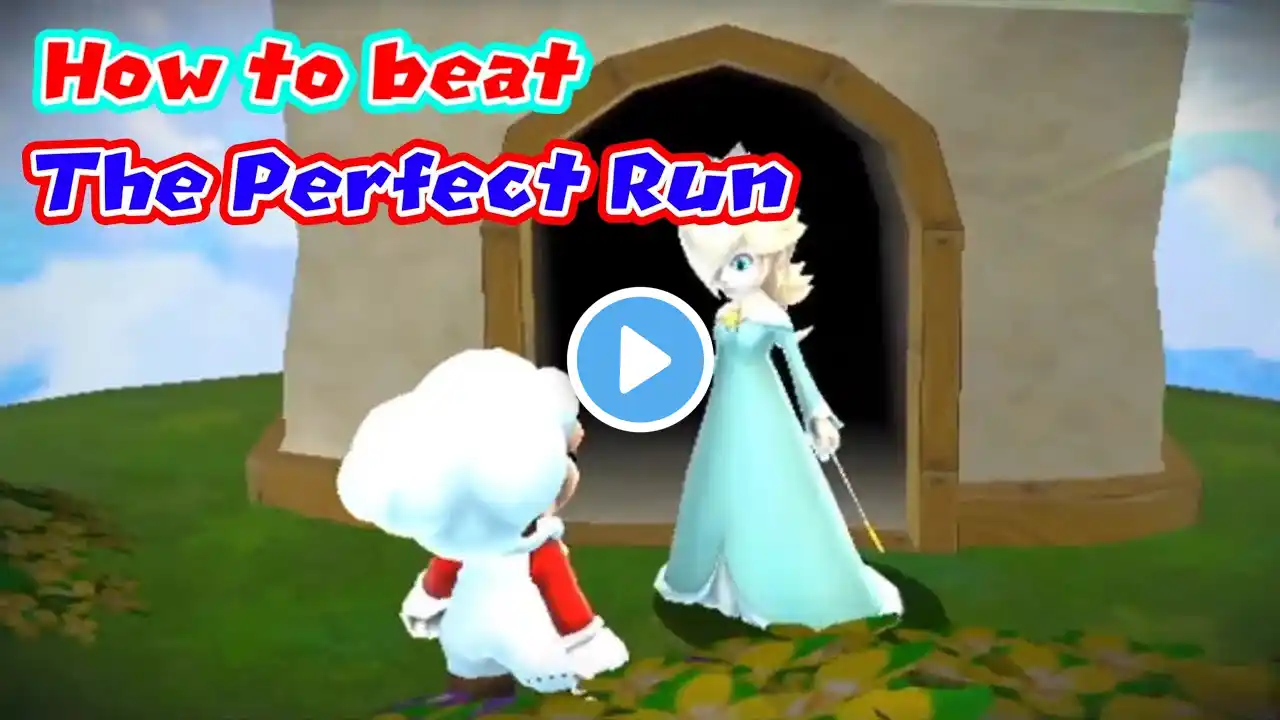
How to Beat the Perfect Run (Super Mario Galaxy 2)
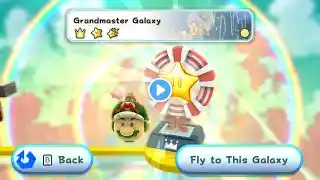
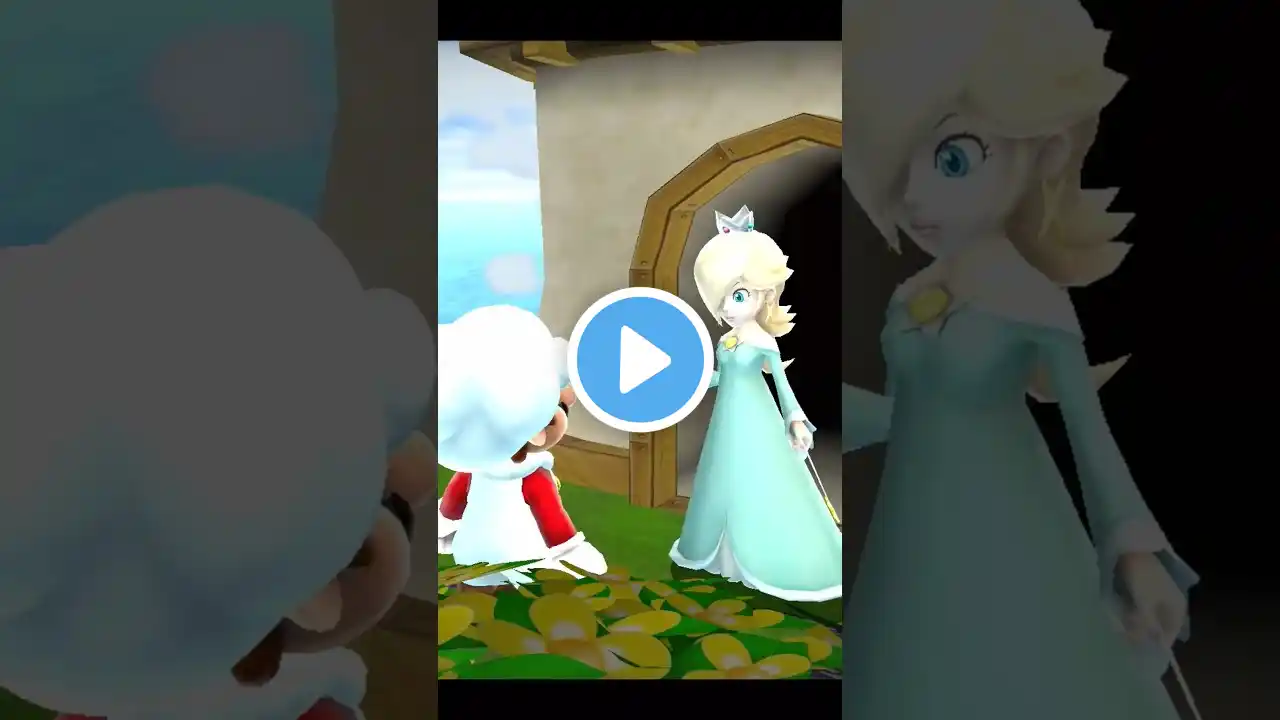
This is how to beat a level that I could never beat as a kid. This is the true final challenge of Super Mario Galaxy 2, which requires you to have collected everything else in the game to unlock. 0:00 Planet 1 (Yoshi Choppa) 0:37 Planet 2 (Sentry Beam Switch) 1:05 Planet 3 (Cloud Windmill) 1:50 Planet 4 (Flipswitch Pulse Beam) 2:35 Planet 5 (Pull Star Rail Valley) 3:39 Planet 6 (Boomerang Bros) 4:34 Ending Don't want to watch? Maybe reading is faster! In Super Mario 3D World, you have power-ups to bring. In Super Mario Odyssey, you have assist mode and life-up hearts. In Super Mario Galaxy 2, this challenge requires you to NOT GET HIT AT ALL! No easy method this time, the hard way is the only way! For the first planet, try to speedrun it, while still being careful. Since the flowers will launch Yoshi upward, you want the choppas to be under the flowers rather than above them. If you don't hesistate you'll get a clean path. For the second planet, you want to be actively on your feet. While it may not seem like it, the gap where the sentry beams float in the center of are large enough for Mario to jump over, which I recommend you take advantage of when touching the center panel. I don't say this in the video, but try to go in a clock-wise or counter clockwise pattern so that the last panel you activate is near the star. For the third planet, you want to avoid touching the electric rails. That's mainly the only obstacle. Just keep an eye on how many clouds you have, and you should be good. As I show in the video (and others show as well), you can bring clouds over to the next planet, but even three isn't enough to skip that entire challenge. For the fourth planet, the biggest threat is the pulse beams, which is what you should be primarily focusing on. I would say that the habit that got me stuck here as a kid would be the temptation to spin jump every time, which gave me comfort of control. I would recommend against that as the flip-switches are your safe spots here. Octopi shouldn't be ignored entirely, but their threat is smaller than they appear. Killing them shouldn't be a priority. For the fifth planet, a lot goes on, and I don't get to explain it all. For the first rail, I got to the edge as the requency I have to jump is much lower. I also avoid spin-jumping here to reduce my airtime, allowing me to dodge the rail again when it comes back. Second rail I long jump over. For the third and fourth rails, I keep an eye on when they are 67% the way towards Mario and then begin my long-jump. The idea is to maximize safety time and to land on the far block right as the rail is moving away. Since the rail cycles fast, I jump after landing and get into the pull star. I avoid the third pull star as the paragoombas become bigger obstacles there. The retracting rails focus on timing again, I pull when they're halfway retracting. For the dual-rail, I start the pull when they are around 33% of their cycle. For the rotating rails, I wait for the ends to be near mario, and then quickly go to that third pull star. When the goomba is to my south, I use the penultimate pull star (and let go) to give Mario momentum past the final rail, and use the last pull star to reach the launch star. For the final planet, walk in around the hammer bro closest to you. The thing you want to avoid is running directly at a hammer bro, as their hammers have precision based on where you are at the time they're thrown. This also means a couple can reach you when fighting the boomerang bros, but as long as you keep moving your position, you'll be fine. Try jumping on the boomerang bros as the boomerangs can't get you while jumping. After all three are defeated, the launch star appears and you win! Rosalina will congradulate you and join you on the starship, will get a special message in the Wii version, and your gold crown on your file will turn platinum with a ruby in the center. There will also be a death count displayed on the top right. If you look carefully, you may notice a few odd things: This is the Wii version, this was not my first attempt, and this isn't the version I streamed a couple days ago. I wanted a clean version with higher resolution (its 720x1280, but its better than 540x960 show on my streams). The level is still difficult, I cut out the deaths since I felt they would be irrelevant. Since I already had the Wii version, I didn't feel the need to spend $40 on a game I already own.