How to Design Professional Fruits Banner - Photoshop Tutorial/Photoshop
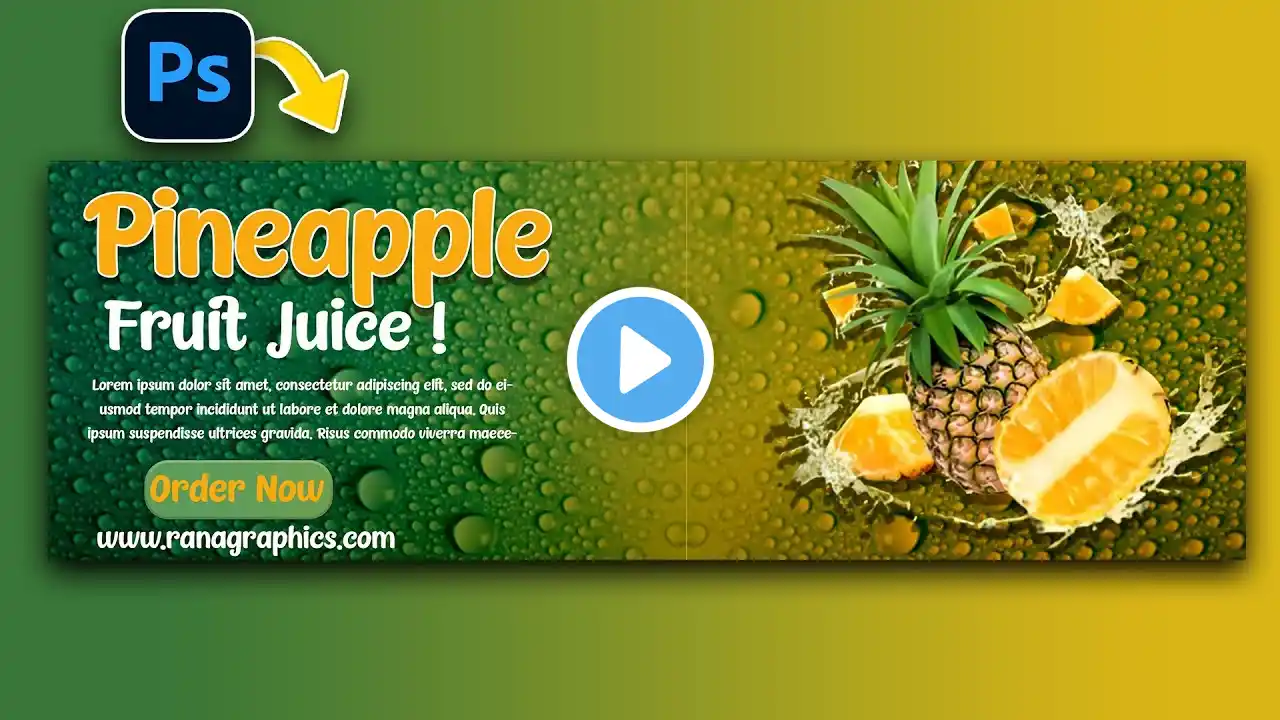
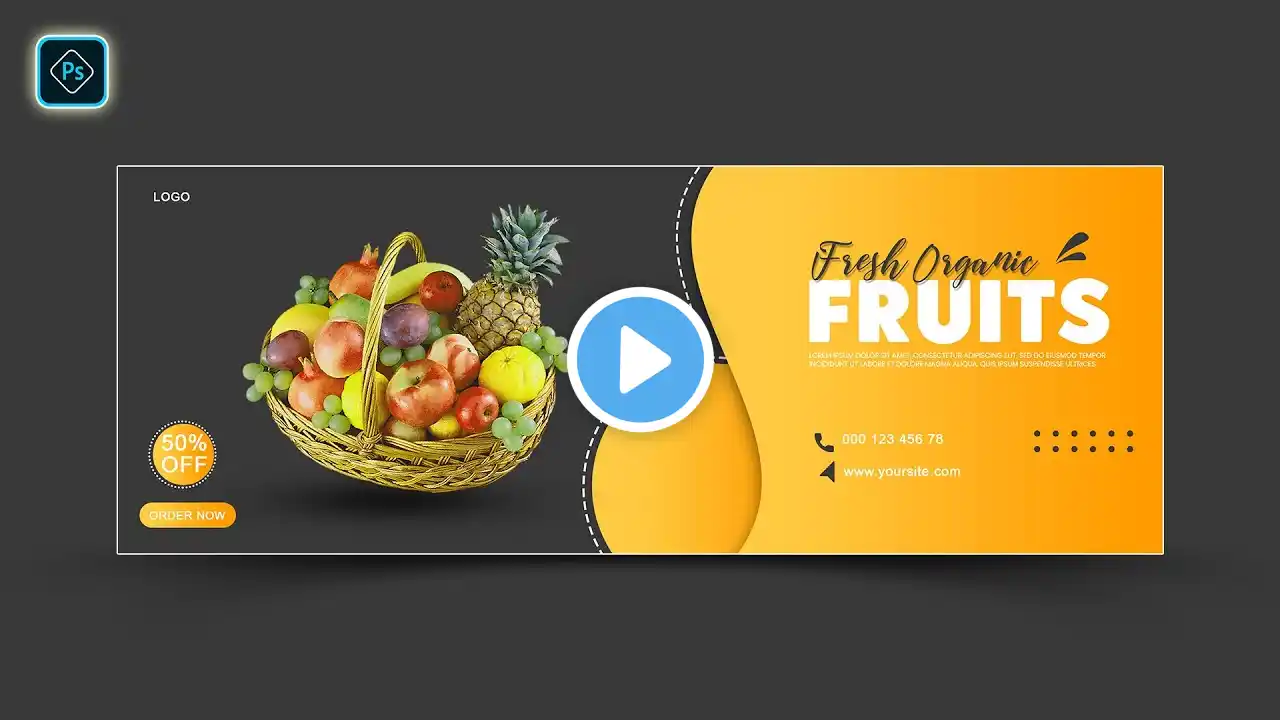
Open Photoshop and create a new document. The size of your banner will depend on where you will be using it. For example, if you are creating a banner for a website, the standard size is 728 x 90 pixels. Import the fruit images that you want to use. You can find free stock images online or use your own photos. Arrange the fruit images in a way that is visually appealing. You can use the Move Tool (V) to move the images around, and the Rotate Tool (R) to rotate them. Add text to your banner. This could be the name of your business, a slogan, or a call to action. You can use the Type Tool (T) to add text. Adjust the colors and contrast of your banner. This will help to make it look more professional. You can use the Levels and Curves tools to do this. Save your banner in the desired format. The most common format for banners is PNG. Here are some additional tips for designing a professional fruits banner: Use high-quality images. This will make your banner look more polished and professional. Use a consistent color scheme. This will help to create a cohesive look for your banner. Keep your text clear and concise. People should be able to read your text easily from a distance. Use a call to action. Tell people what you want them to do, such as "Visit our website" or "Shop now."