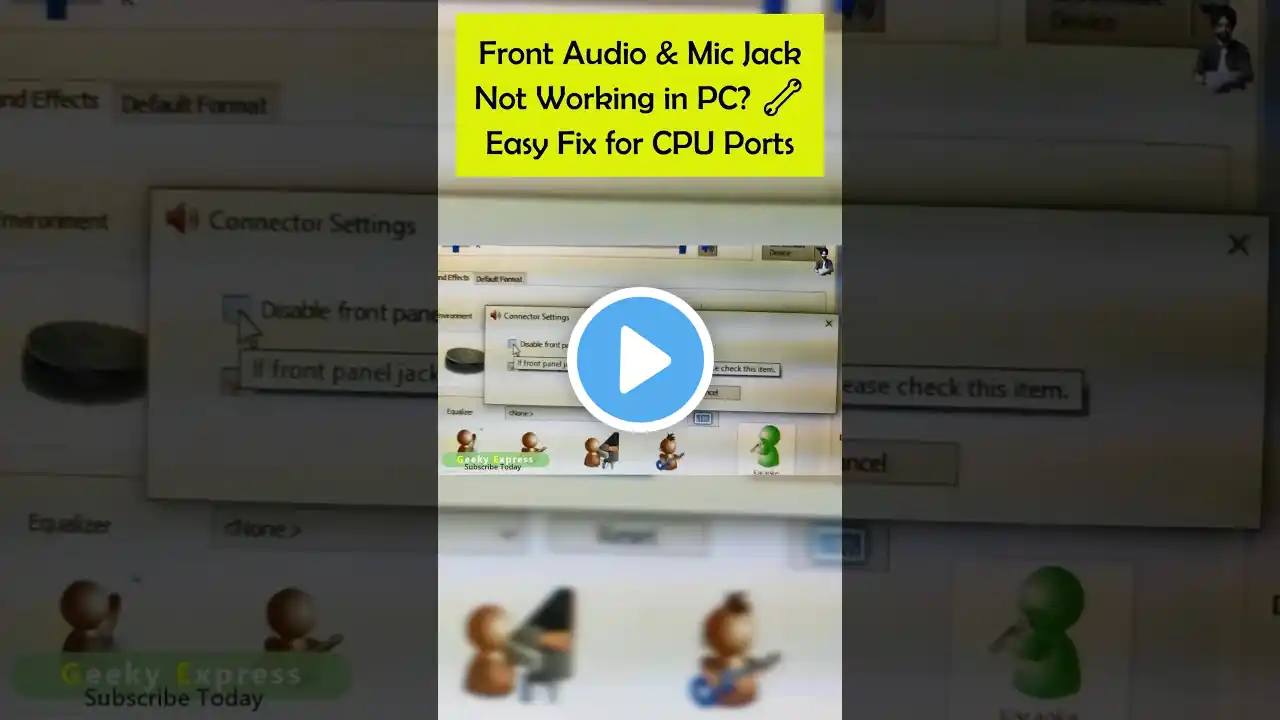
How to Download and Install Realtek HD Audio Manager Windows 11
How to Download and Install Realtek HD Audio Manager for Windows 11 Please subscribe to our YouTube channel https://goo.gl/y62goR This tutorial is for those who want to learn how to install Realtek HD Audio Manager for Windows 11 and deepen their knowledge on the subject. Realtek HD Audio Manager Won't Open Hi friends, today we're back with a new video that will interest you if you're looking for a solution to improve your audio experience on your Windows 11 computer. In this video, I'll show you how to download and install Realtek HD Audio Manager, a software that allows you to customize and optimize the sound on your operating system. So stay with me until the end to discover all the steps to follow to enjoy quality sound on your computer. So, how do you install Realtek HD Audio Manager for Windows 11? In this tutorial, I'll show you a quick and easy way to install Realtek HD Audio Manager on Windows 11. Realtek HD Audio Driver Windows 10 11 Installation Guide To download and install Realtek HD Audio Manager on Windows 11, follow these simple steps. First, right-click the Windows icon. Select "Device Manager" and click "Sound, video and game controllers." If you see "Realtek Audio" in the list, right-click it and select "Uninstall device." Then, go to the official Realtek website in your browser and download the software by following the steps provided. Once the download is complete, open the file and follow the instructions to complete the installation. Remember to restart your PC for the changes to take effect. Go to Realtek HD Audio Manager These instructions show you how to install Realtek HD Audio Manager in Windows 11 step by step. 1- Right-click the Windows icon. 2- Select 'Device Manager'. 3- Click 'Sound, video and game controllers'. 4- If 'Realtek Audio' is present, right-click it. 5- Select 'Uninstall device'. 6- Open your browser and search for Realtek, then go to the official website: https://www.realtek.com/ 7- Click the icon with the three lines in the top left corner. 8- Click 'Downloads'. 9- Select 'Computer Peripheral ICs'. 10- Under 'Product Line', select 'PC Audio Codecs'. 11- Click 'High Definition Audio Codecs'. 12- Select the first option and click on 'Software'. 13- Choose the second download (compatible with Windows 11). 14- Wait for the download to complete (this may take some time and does not depend on your internet connection). 15- Once the file is downloaded, open it. 16- Follow the instructions to complete the installation. 17- Restart your PC. So, do you know how to install Realtek HD Audio Manager in Windows 11? It's as easy as you imagined. Isn't it? I hope this tutorial was very useful for you and that you learned how to solve the Realtek HD Audio Manager problem. If you have any questions about 'downloading Realtek High Definition Audio Driver for Windows 11 64-bit', please feel free to post them in the comments. Feel free to share this video with your family and friends to explain how to install Realtek HD Audio Manager for Windows 11. Tutorial: How to download and install Realtek HD Audio Manager for Windows 11 Category: Realtek HD Audio Manager not starting See also: Download Realtek High Definition Audio Driver for Windows 11 64-bit Realtek HD Audio Manager Download Realtek HD Audio Manager Download Realtek HD Audio Manager for Windows Join this channel to enjoy exclusive benefits: / @asrikh


