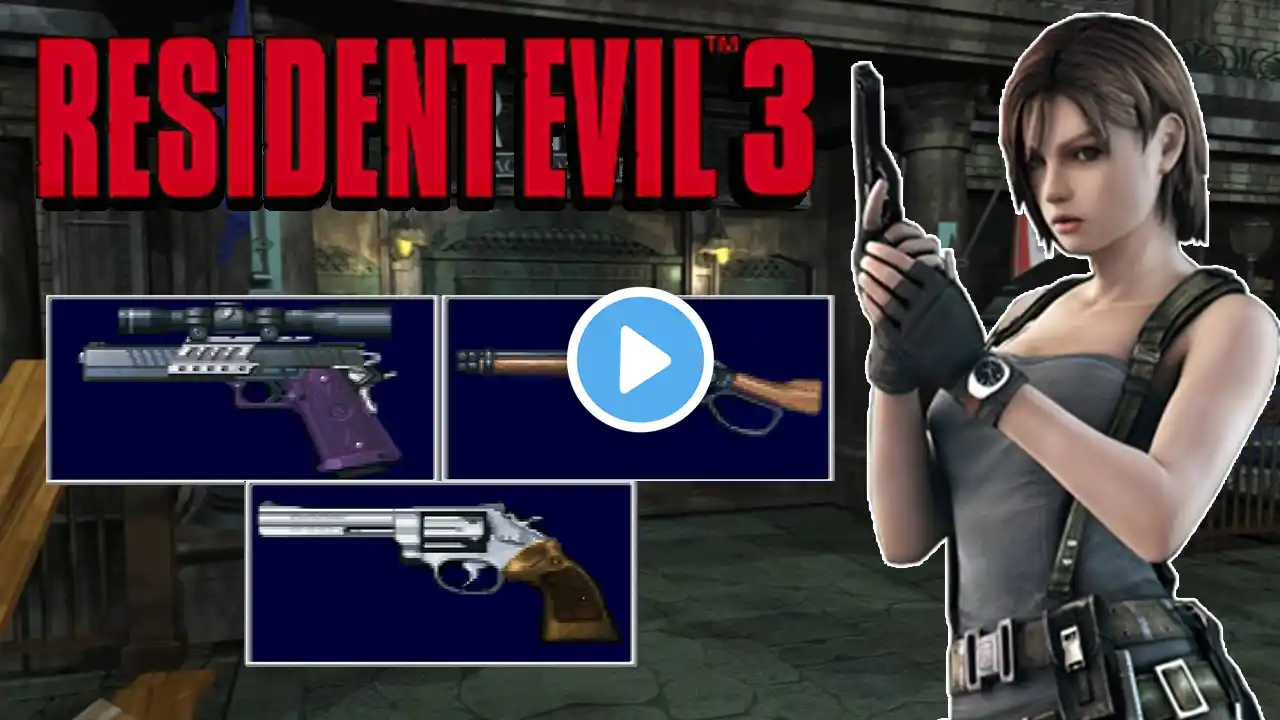
Resident Evil 3 Nemesis - Police Station
Upon opening the gate to the Police Station, you will be confronted with your first Live Selection. It's the Nemesis come calling, and you have to decide whether to hang tough or run. This choice has relatively few repercussions except whether or not you get your butt kicked. You probably don't have enough firepower to effectively take him on, but if you're into hardcore carnage, or your name is Charles Bronson, you may want to stand and fight. In that case, the best way to take on the Nemesis is with the shotgun and lots of dodging. Avoid those meathooks. If he gets you in a one-hand hold three times in a row, you're toast. When in the monster's grip, hit your directional buttons like mad to shake free. The same applies to getting up. Remember to reload your weapon manually, because if you wait for the onscreen animation, you're a goner. If you do succeed in wasting the Nemesis, go collect Brad's Card Case (if you examine it, the S.T.A.R.S. ID will come out of the case) and your first weapon piece (Eagle Parts A), and proceed into the station. You can also collect the Card Case by simply selecting a fight, dodging the Nemesis, picking up the identification and dashing inside, but Jill's ID is also waiting inside, so it's really not worth the danger. If you chose simply to run, you will automatically end up in the police station. Once inside, there are some Green Herbs near the entrance. If you fought the Nemesis, you may need them stat! In the desk area is a typewriter, but it is a waste to use it again so soon. There is a computer you will need to access later, and the Police Station Map near the chair. Some Handgun rounds are also available on the counter. If you somehow got Brad's ID (by beating the Nemesis or tricking him with sleight of hand), you can use the computer to get a number code that will access a locked drawer later. The west door leads to a chain of wrecked rooms that contain some useful stuff and several ill-mannered Deadites. Polish them off with shotgun blasts to the head. The open door on the left side of the trashed filing room leads to RPD Officer Marvin Branagh's office, and he's laying down on the job. Actually, he's been (surprise, surprise) brutally murdered. Collect his report. There may or may not be Shotgun Shells on his desk as well. Through the opposite door is a room containing a couple of key puzzle pieces. Here, in the red blinking filing cabinet near the door, you will find the Blue Gem, which you will need to activate the gate to City Hall. Around one set of file cabinets is another blinking light, and the drawer is locked with a number code. Leave it for now. Waste the lady zombie in the back corridor. Proceed down the hallway and either dodge or fight the zombie who's milling about there. Continue north until you reach a set of stairs. The corridor that runs alongside the stairs leads to the dark room. In this Safe Room, you will find another Ink Ribbon (3), a typewriter, some Gun Powder A (in the doorside cabinet), another file, and, of course, an Item Box. Dump the Lighter for now. Through the door below the blue sign lies a twisty corridor. After a couple turns, either a pair of toxic pooches or a group of zombies wait for you. Two well-placed shotgun blasts will send both canines to doggie Valhalla. By now, you're a seasoned zombie-slayer. Around the corner is a set of double doors that lead to a training classroom. Go to the head of the class! On the front table is your S.T.A.R.S. ID. You'll need it to access the police computer. In the corner by the door is another Ink Ribbon (3). In the little room in the back, you'll find a box of Shotgun Shells, unless you already grabbed them in Marv's office.